iPhone: Take Low Budget Jewelry Photos
See what you can make of your jewelry with materials as little as only a laptop screen and piece of paper! (... Low Budget) For reference, I am using an iPhone 12 mini.
Materials
A laptop/macbook
Your jewelry
A phone/your camera
A sheet of paper
Tape (optional)
An ipad/reflective screen (optional)
Set Up
Turn the laptop brightness to 0, and flip your laptop such that the keyboard side is perpendicular to the surface, while the screen side is flat on the surface. Take the sheet of paper and set it against the keyboard side. Use tape (optional) to secure the paper on the keyboard side of your laptop (so it doesn't collapse). If you have the reflective surface/another ipad screen, you may replace it with the paper, and lean the screen against the keyboard (like photo below). Make sure the ipad screen won't slam down on your laptop screen though.
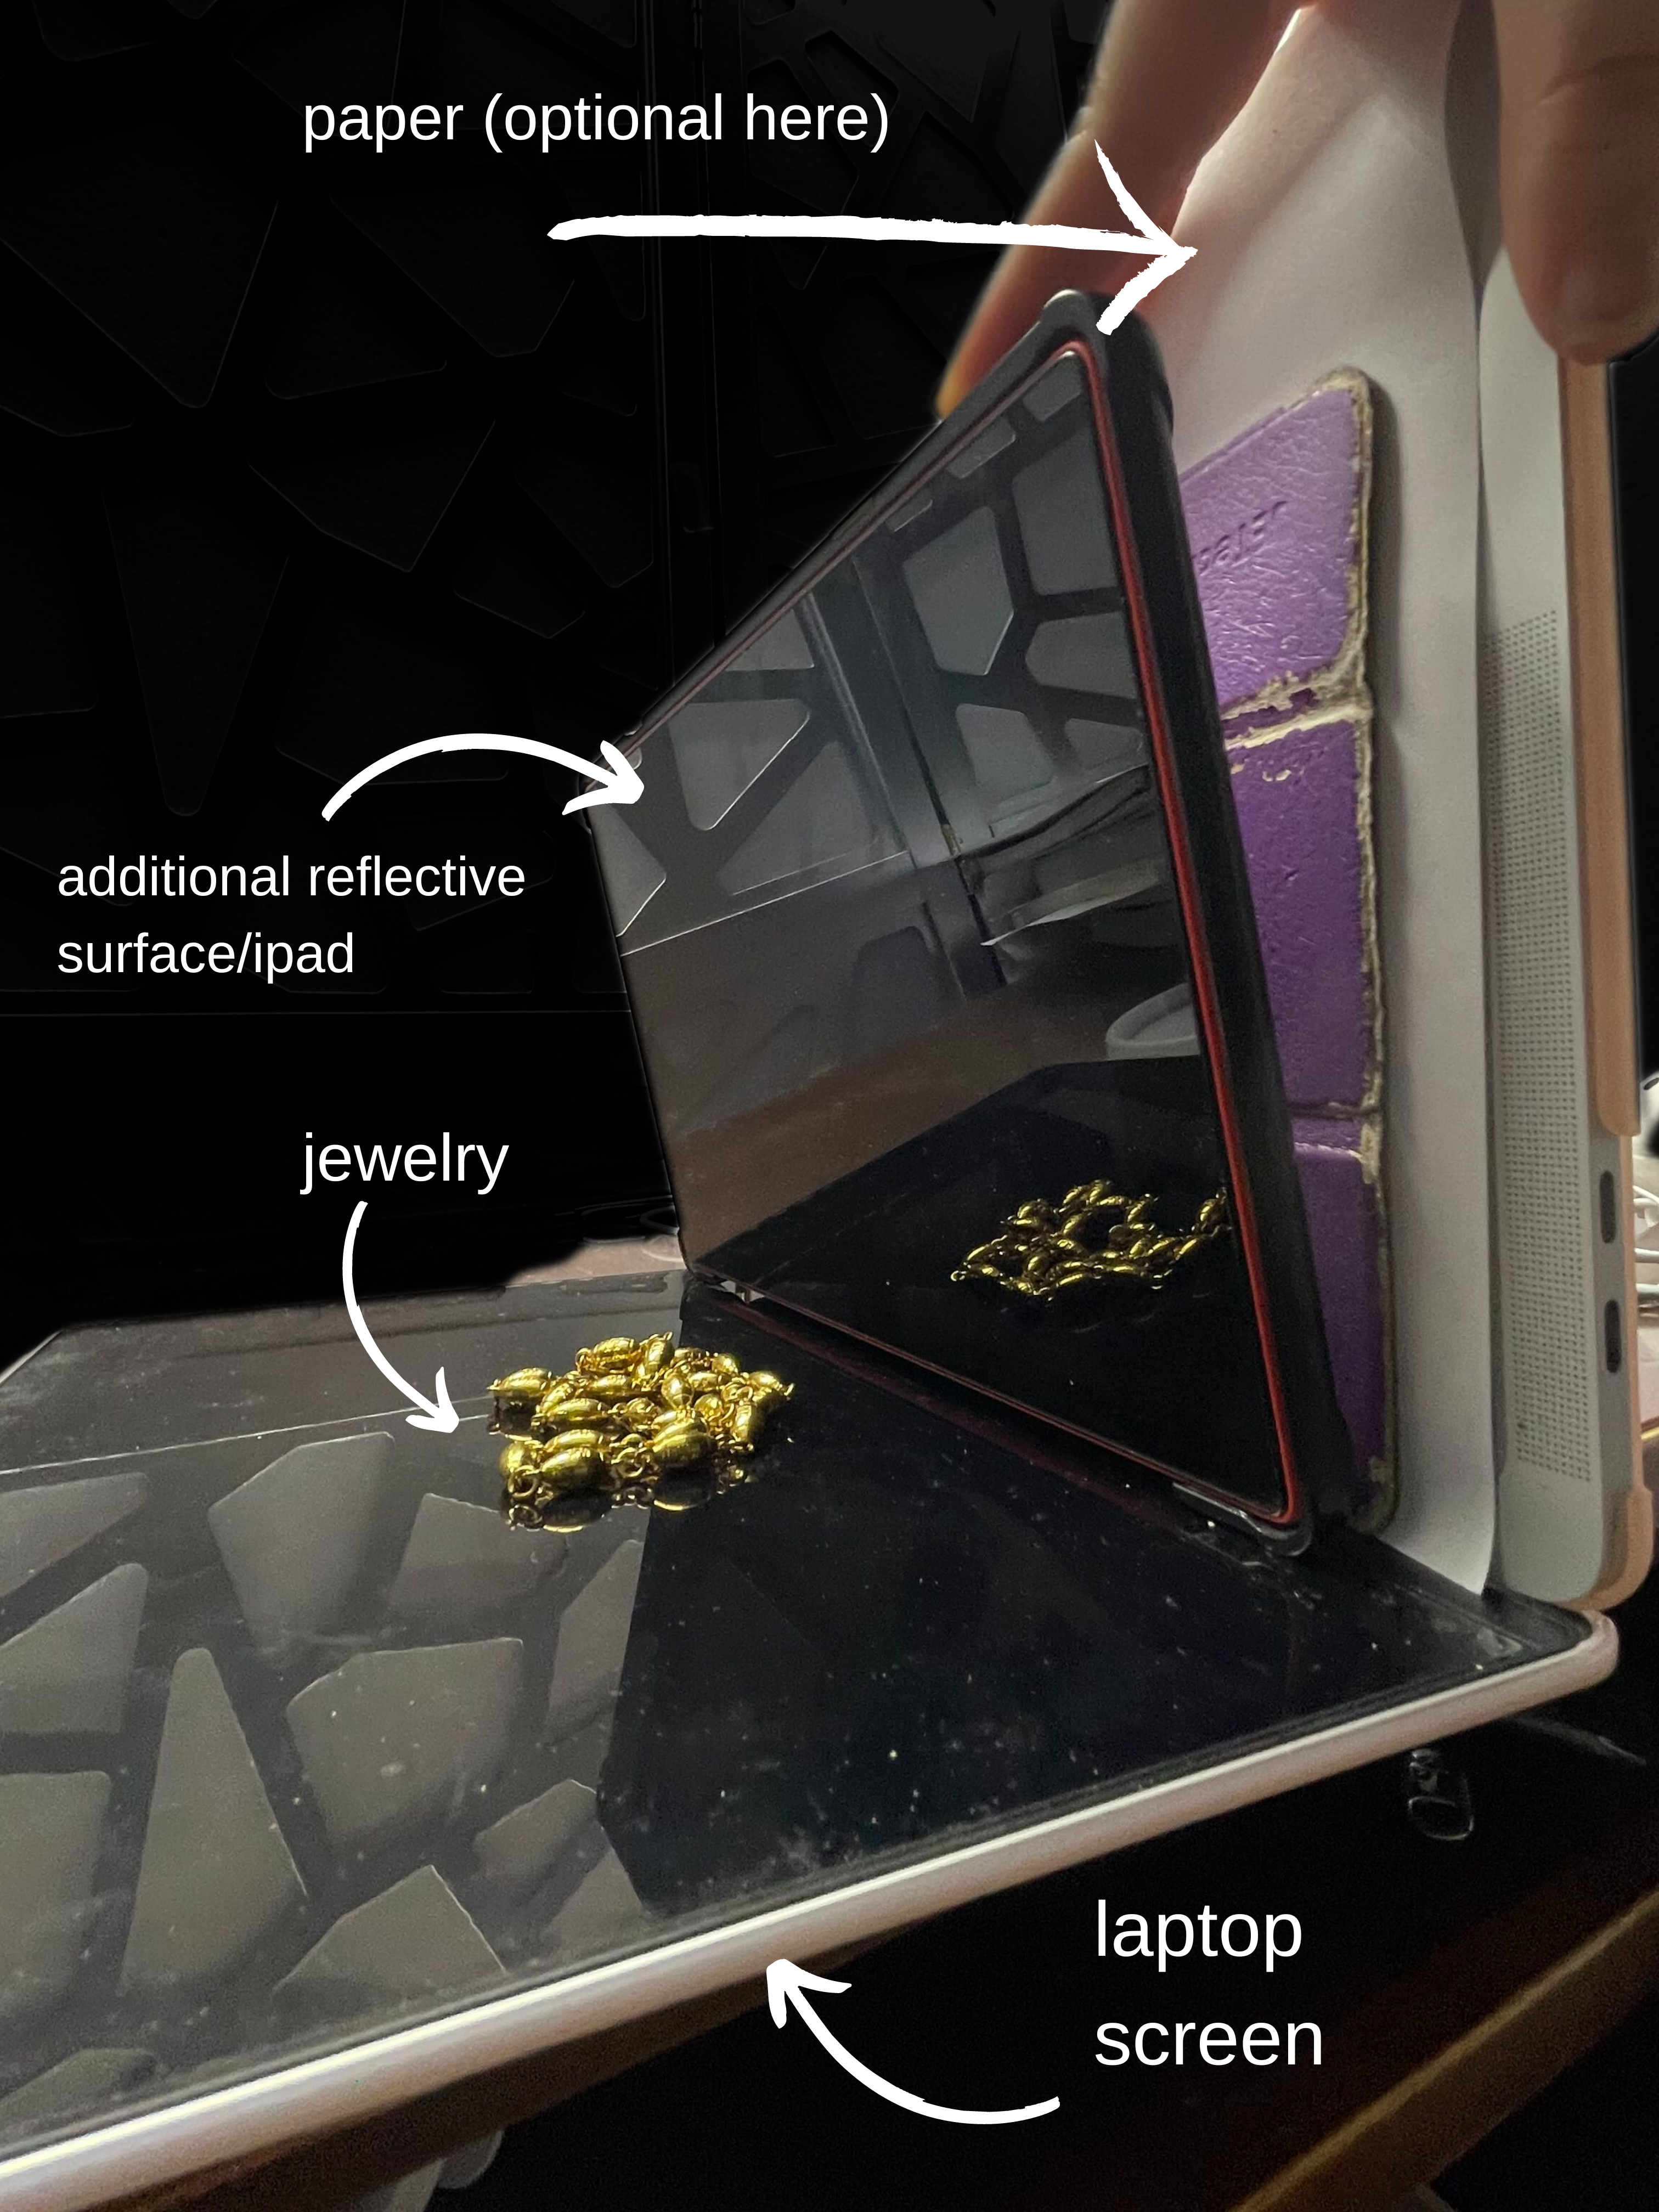
The purpose of the reflective surface/another ipad is for if you want to take photos that have a slight "horizontal" reflection. The white paper is for if you'd like to have a "plain" background. Both works!
Take your jewelry and put it in a position on the laptop screen.
Take the Photo
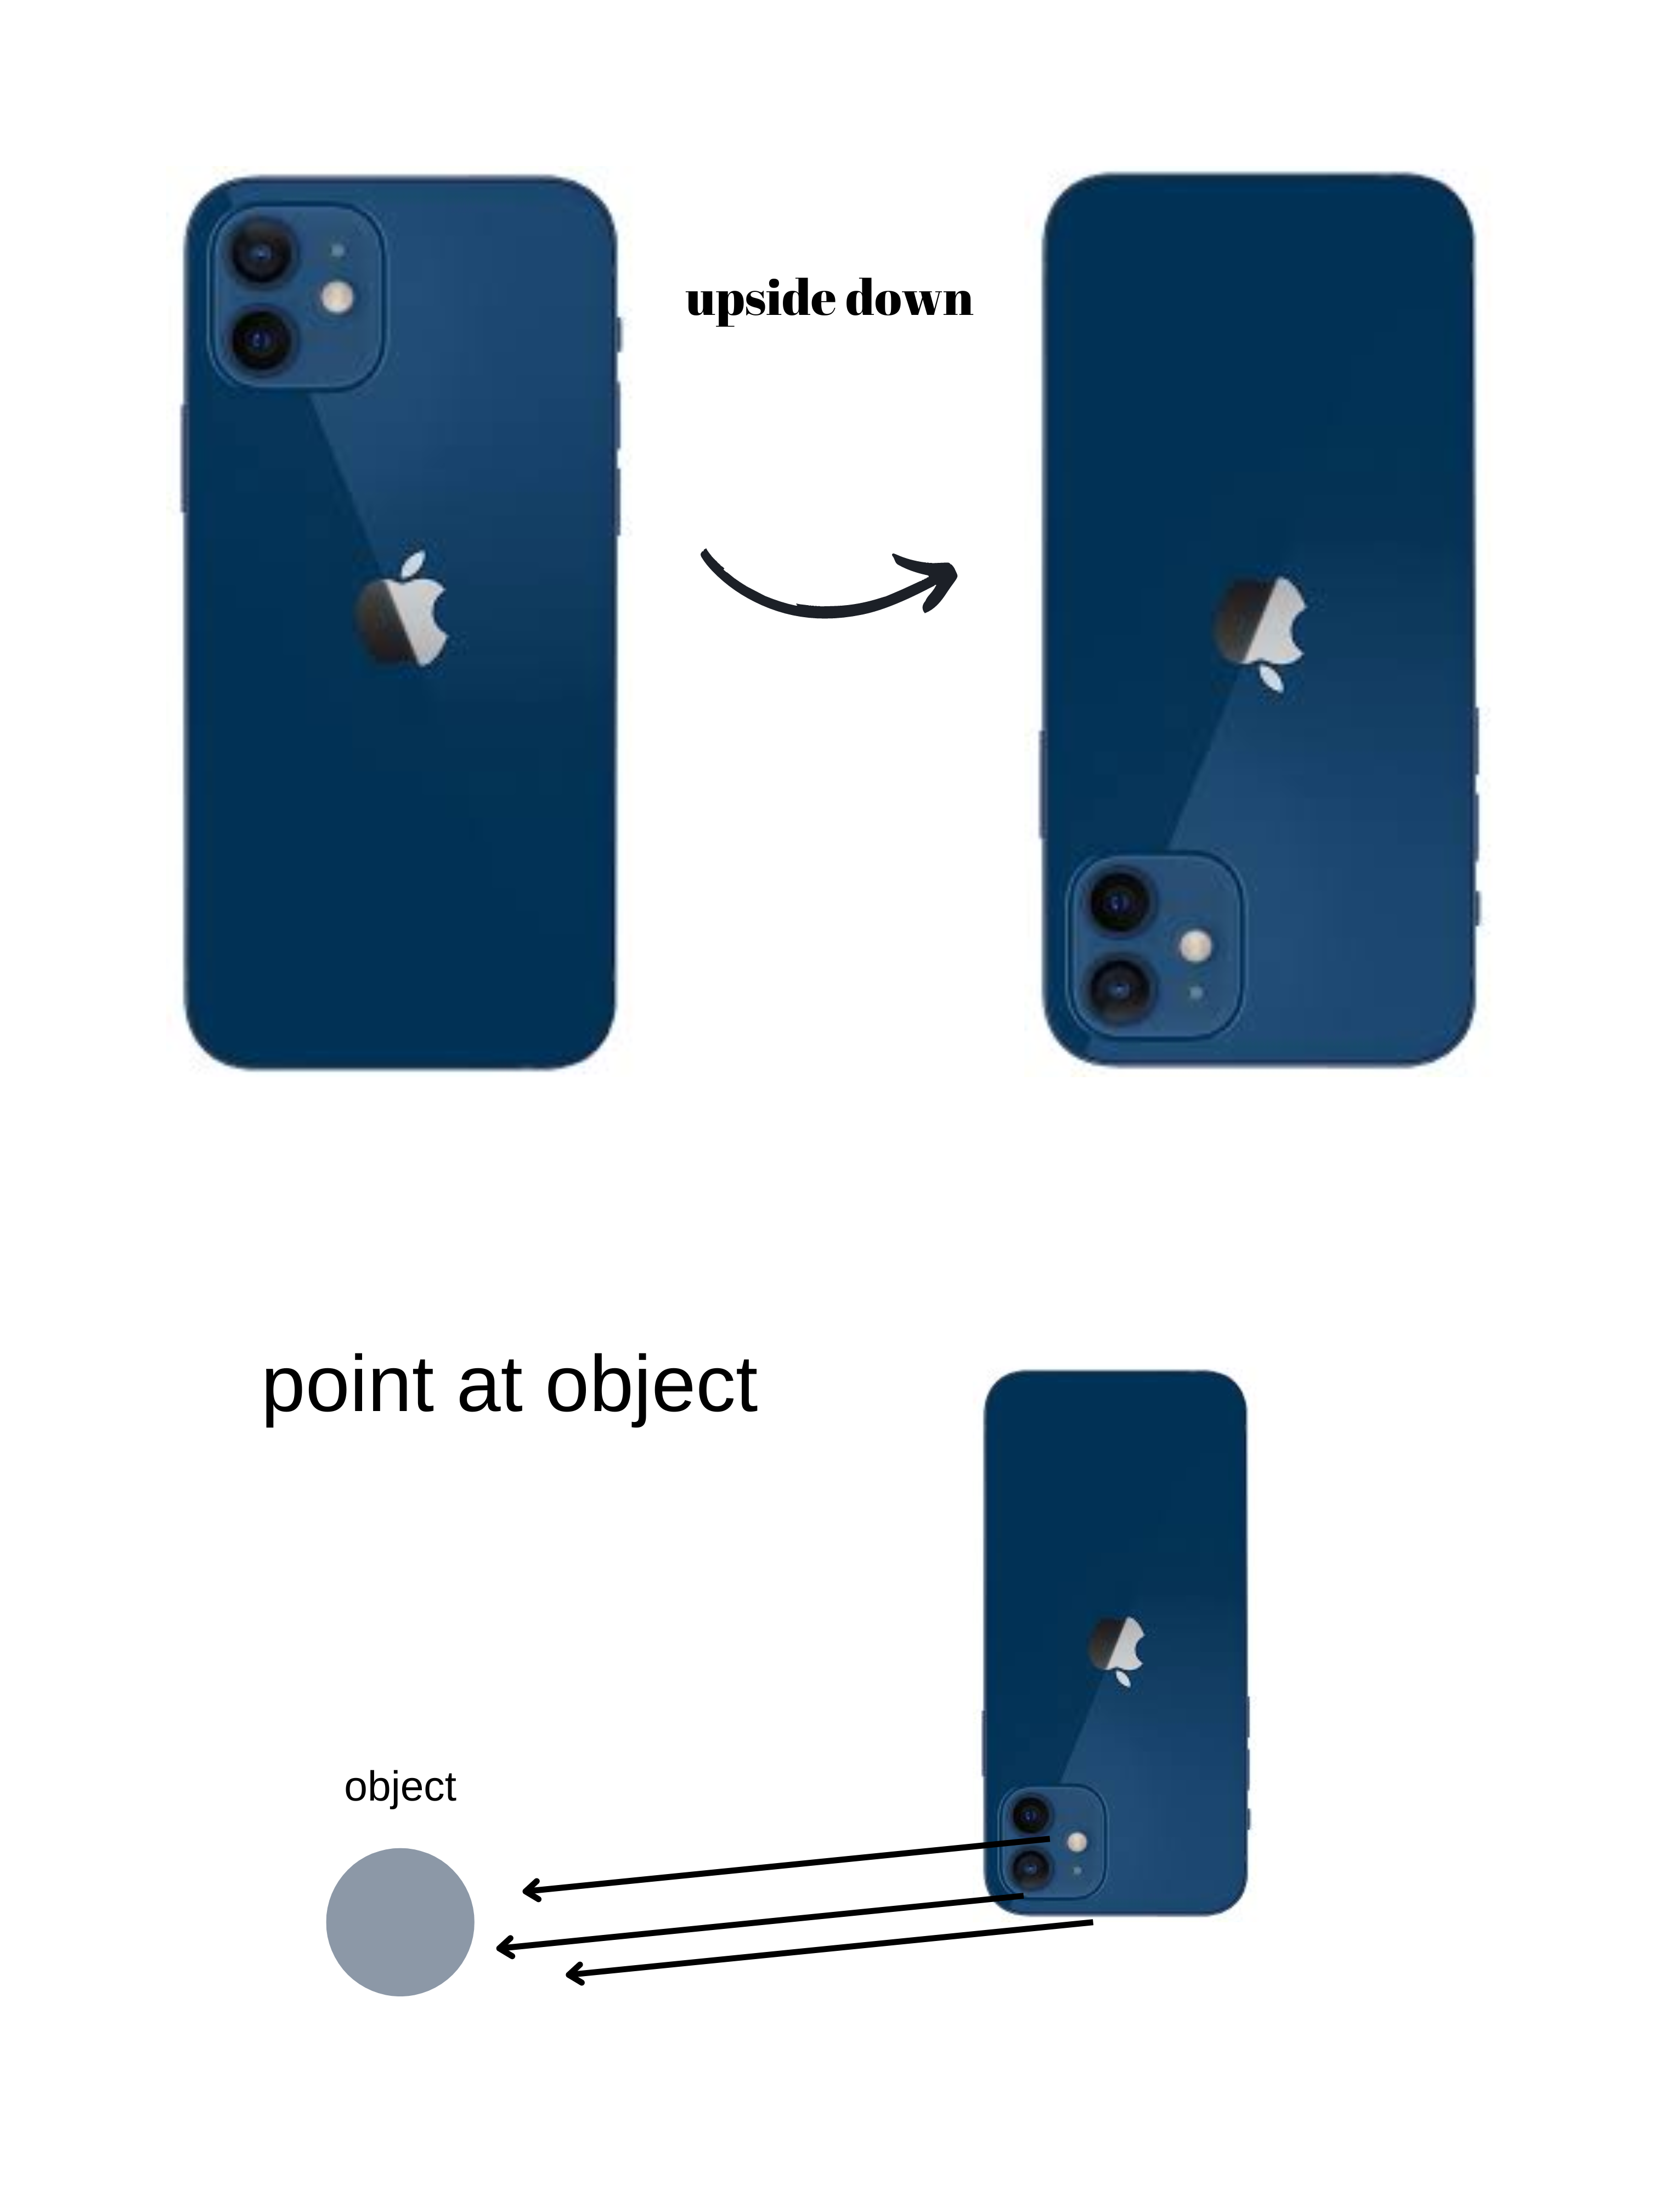
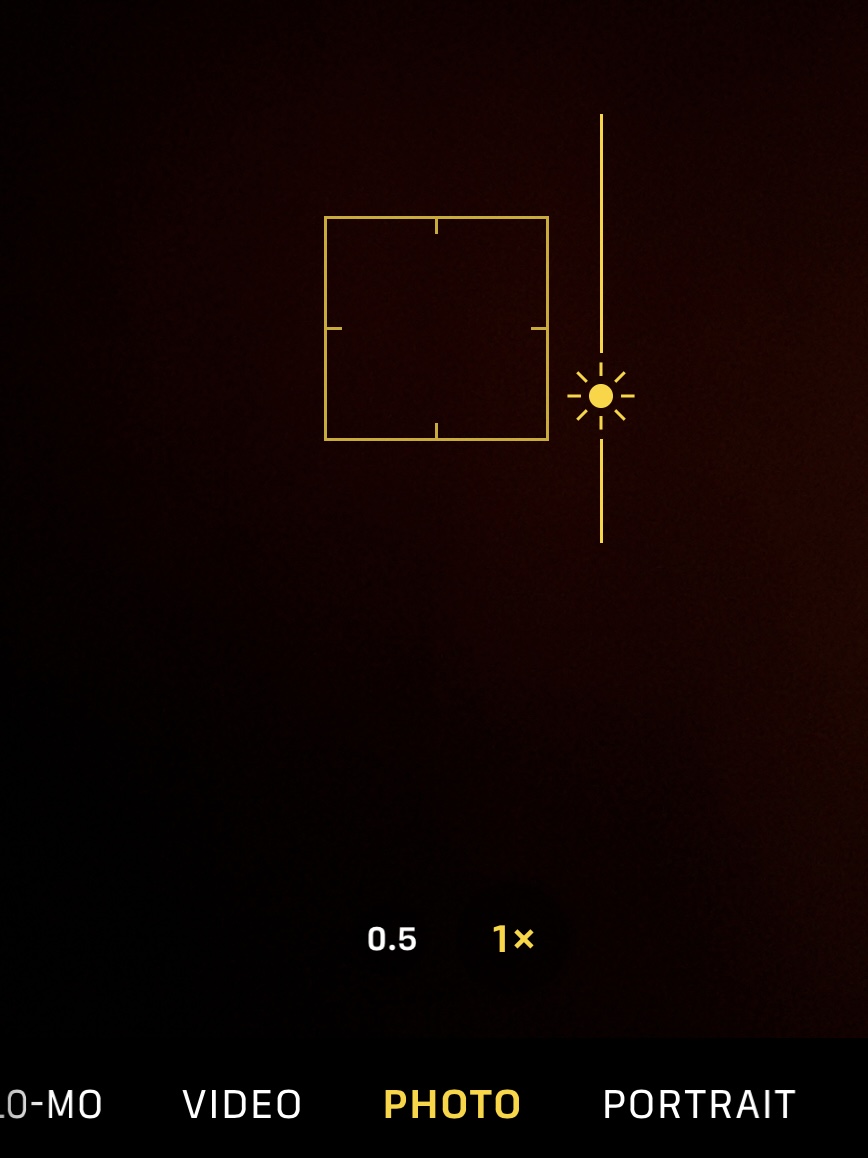
Point your phone camera to the jewelry after flipping it 180 degrees, such that the camera lenses of the phone is close to the laptop surface. You may turn on the phone camera timer or use the volume buttons to take a photo. Long press (on your phone screen) on the area you want to increase/lower exposure.
Editing the Photo
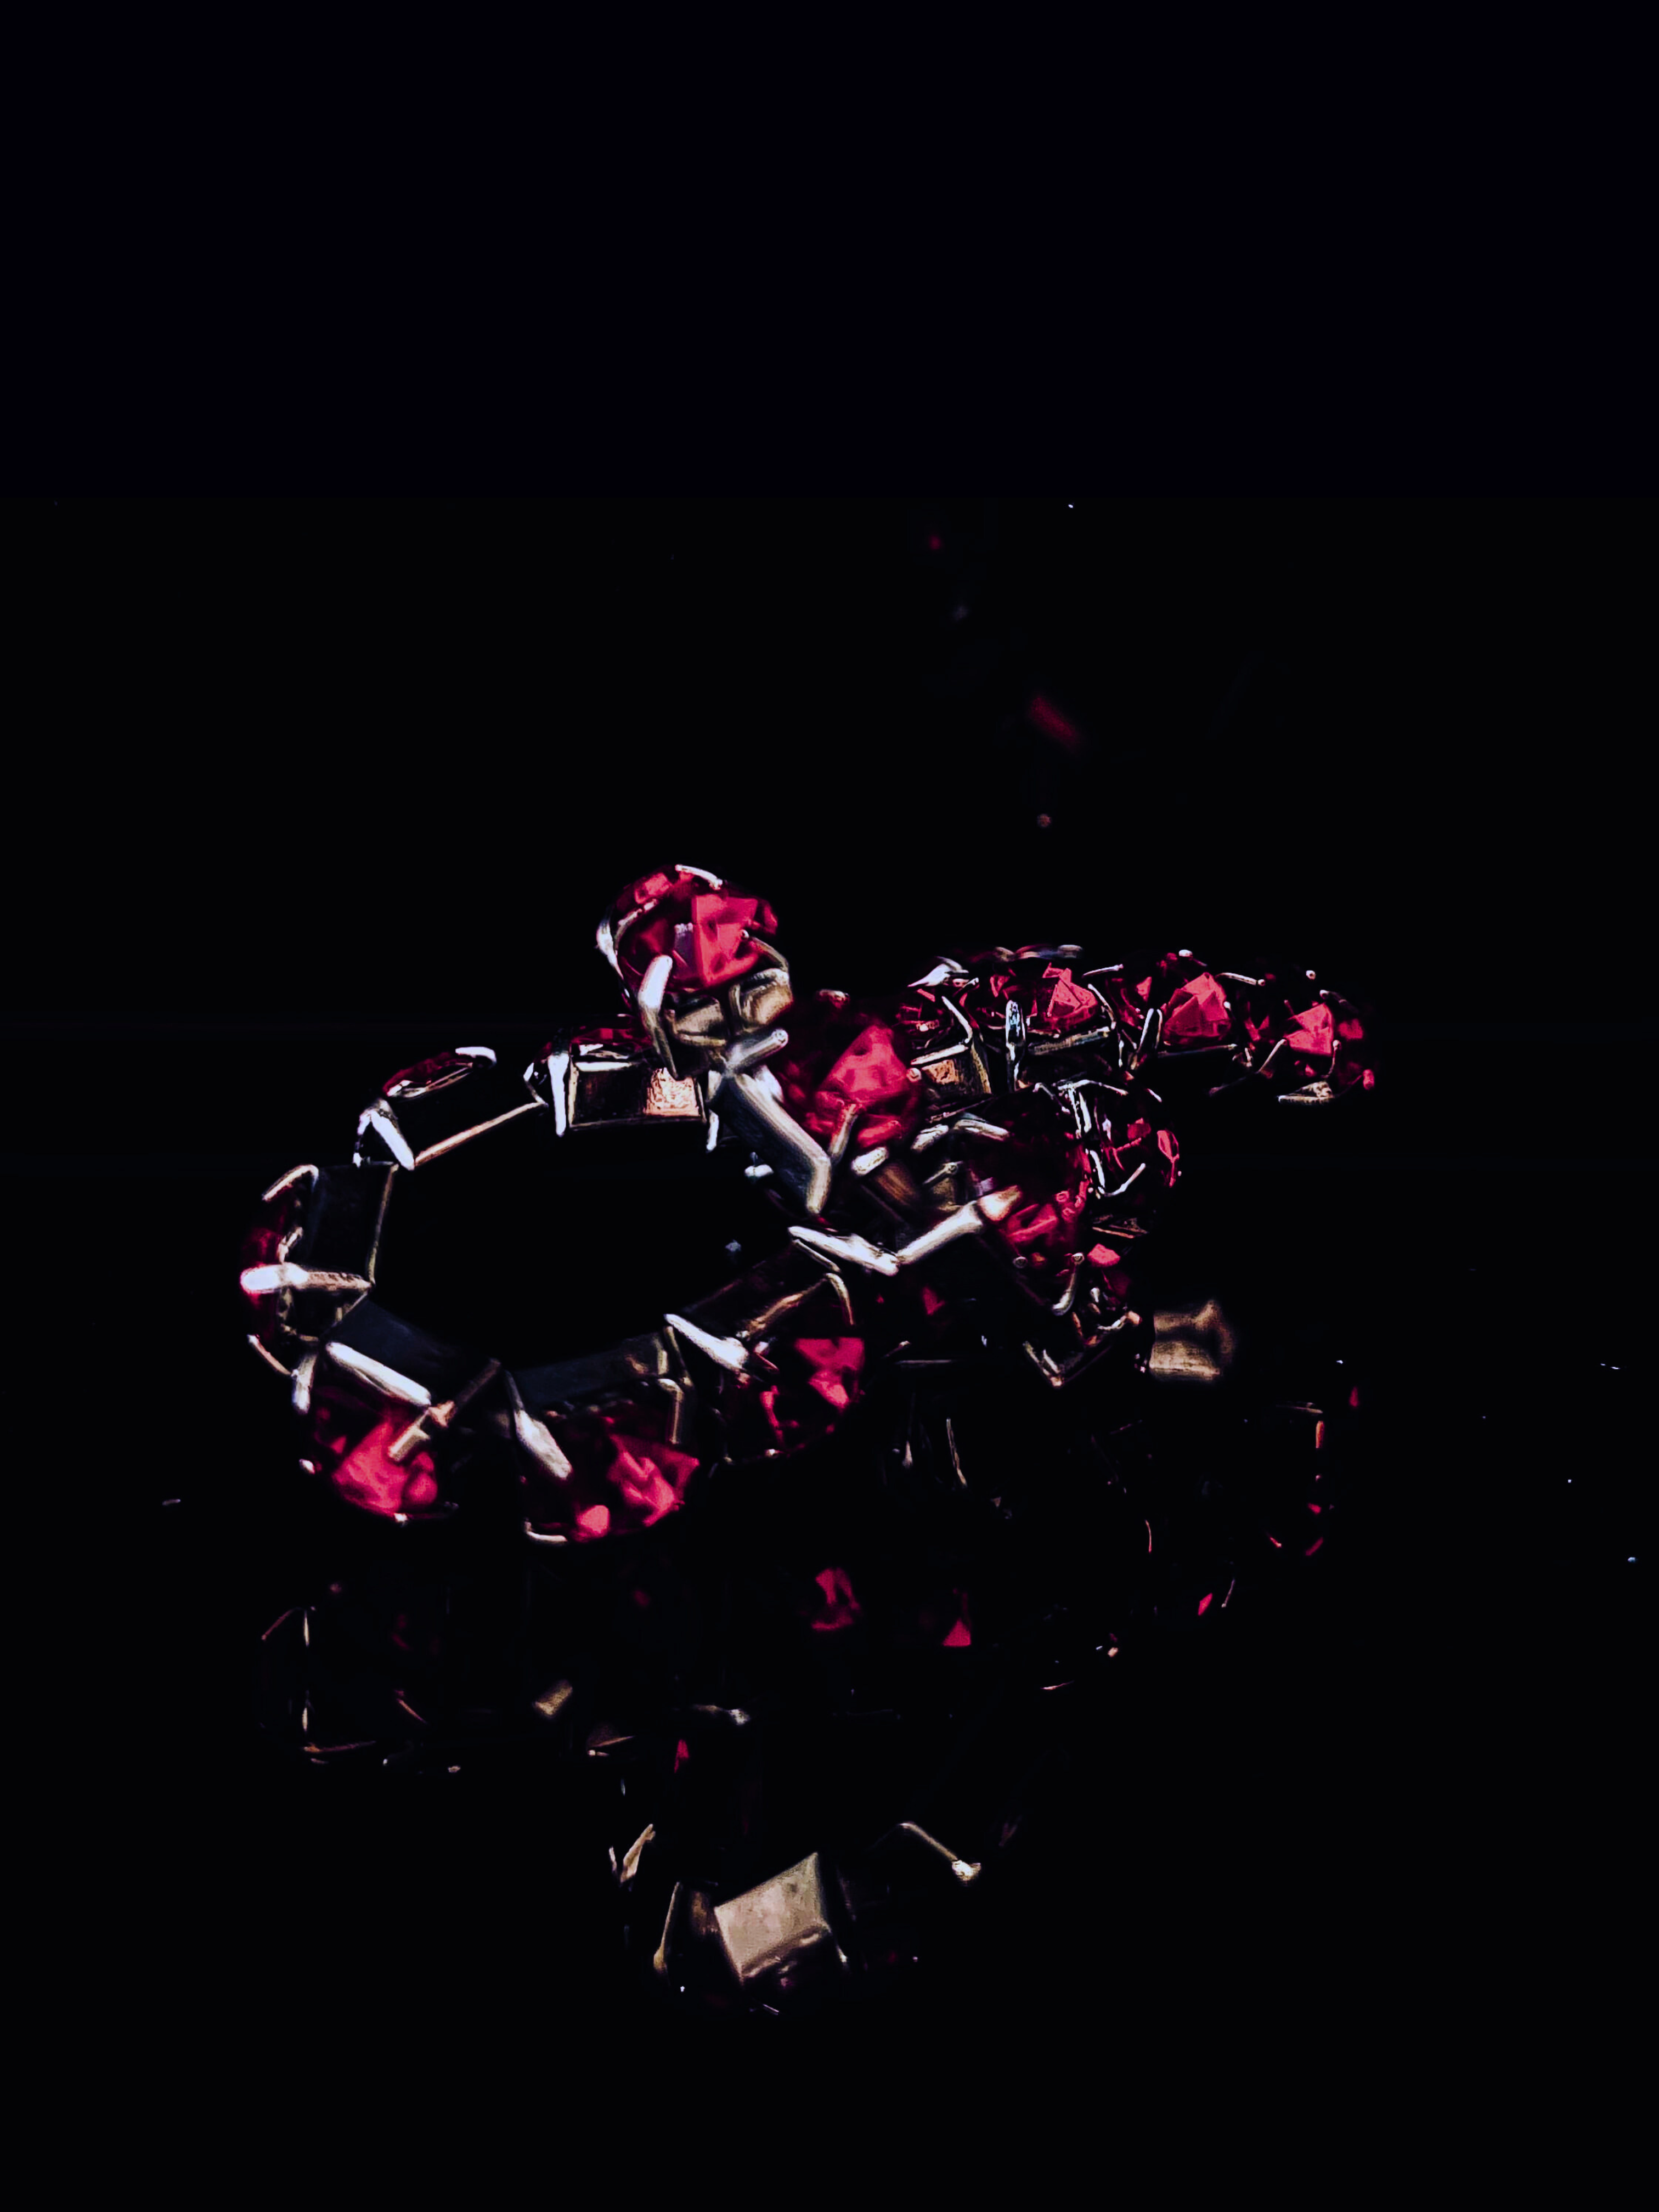
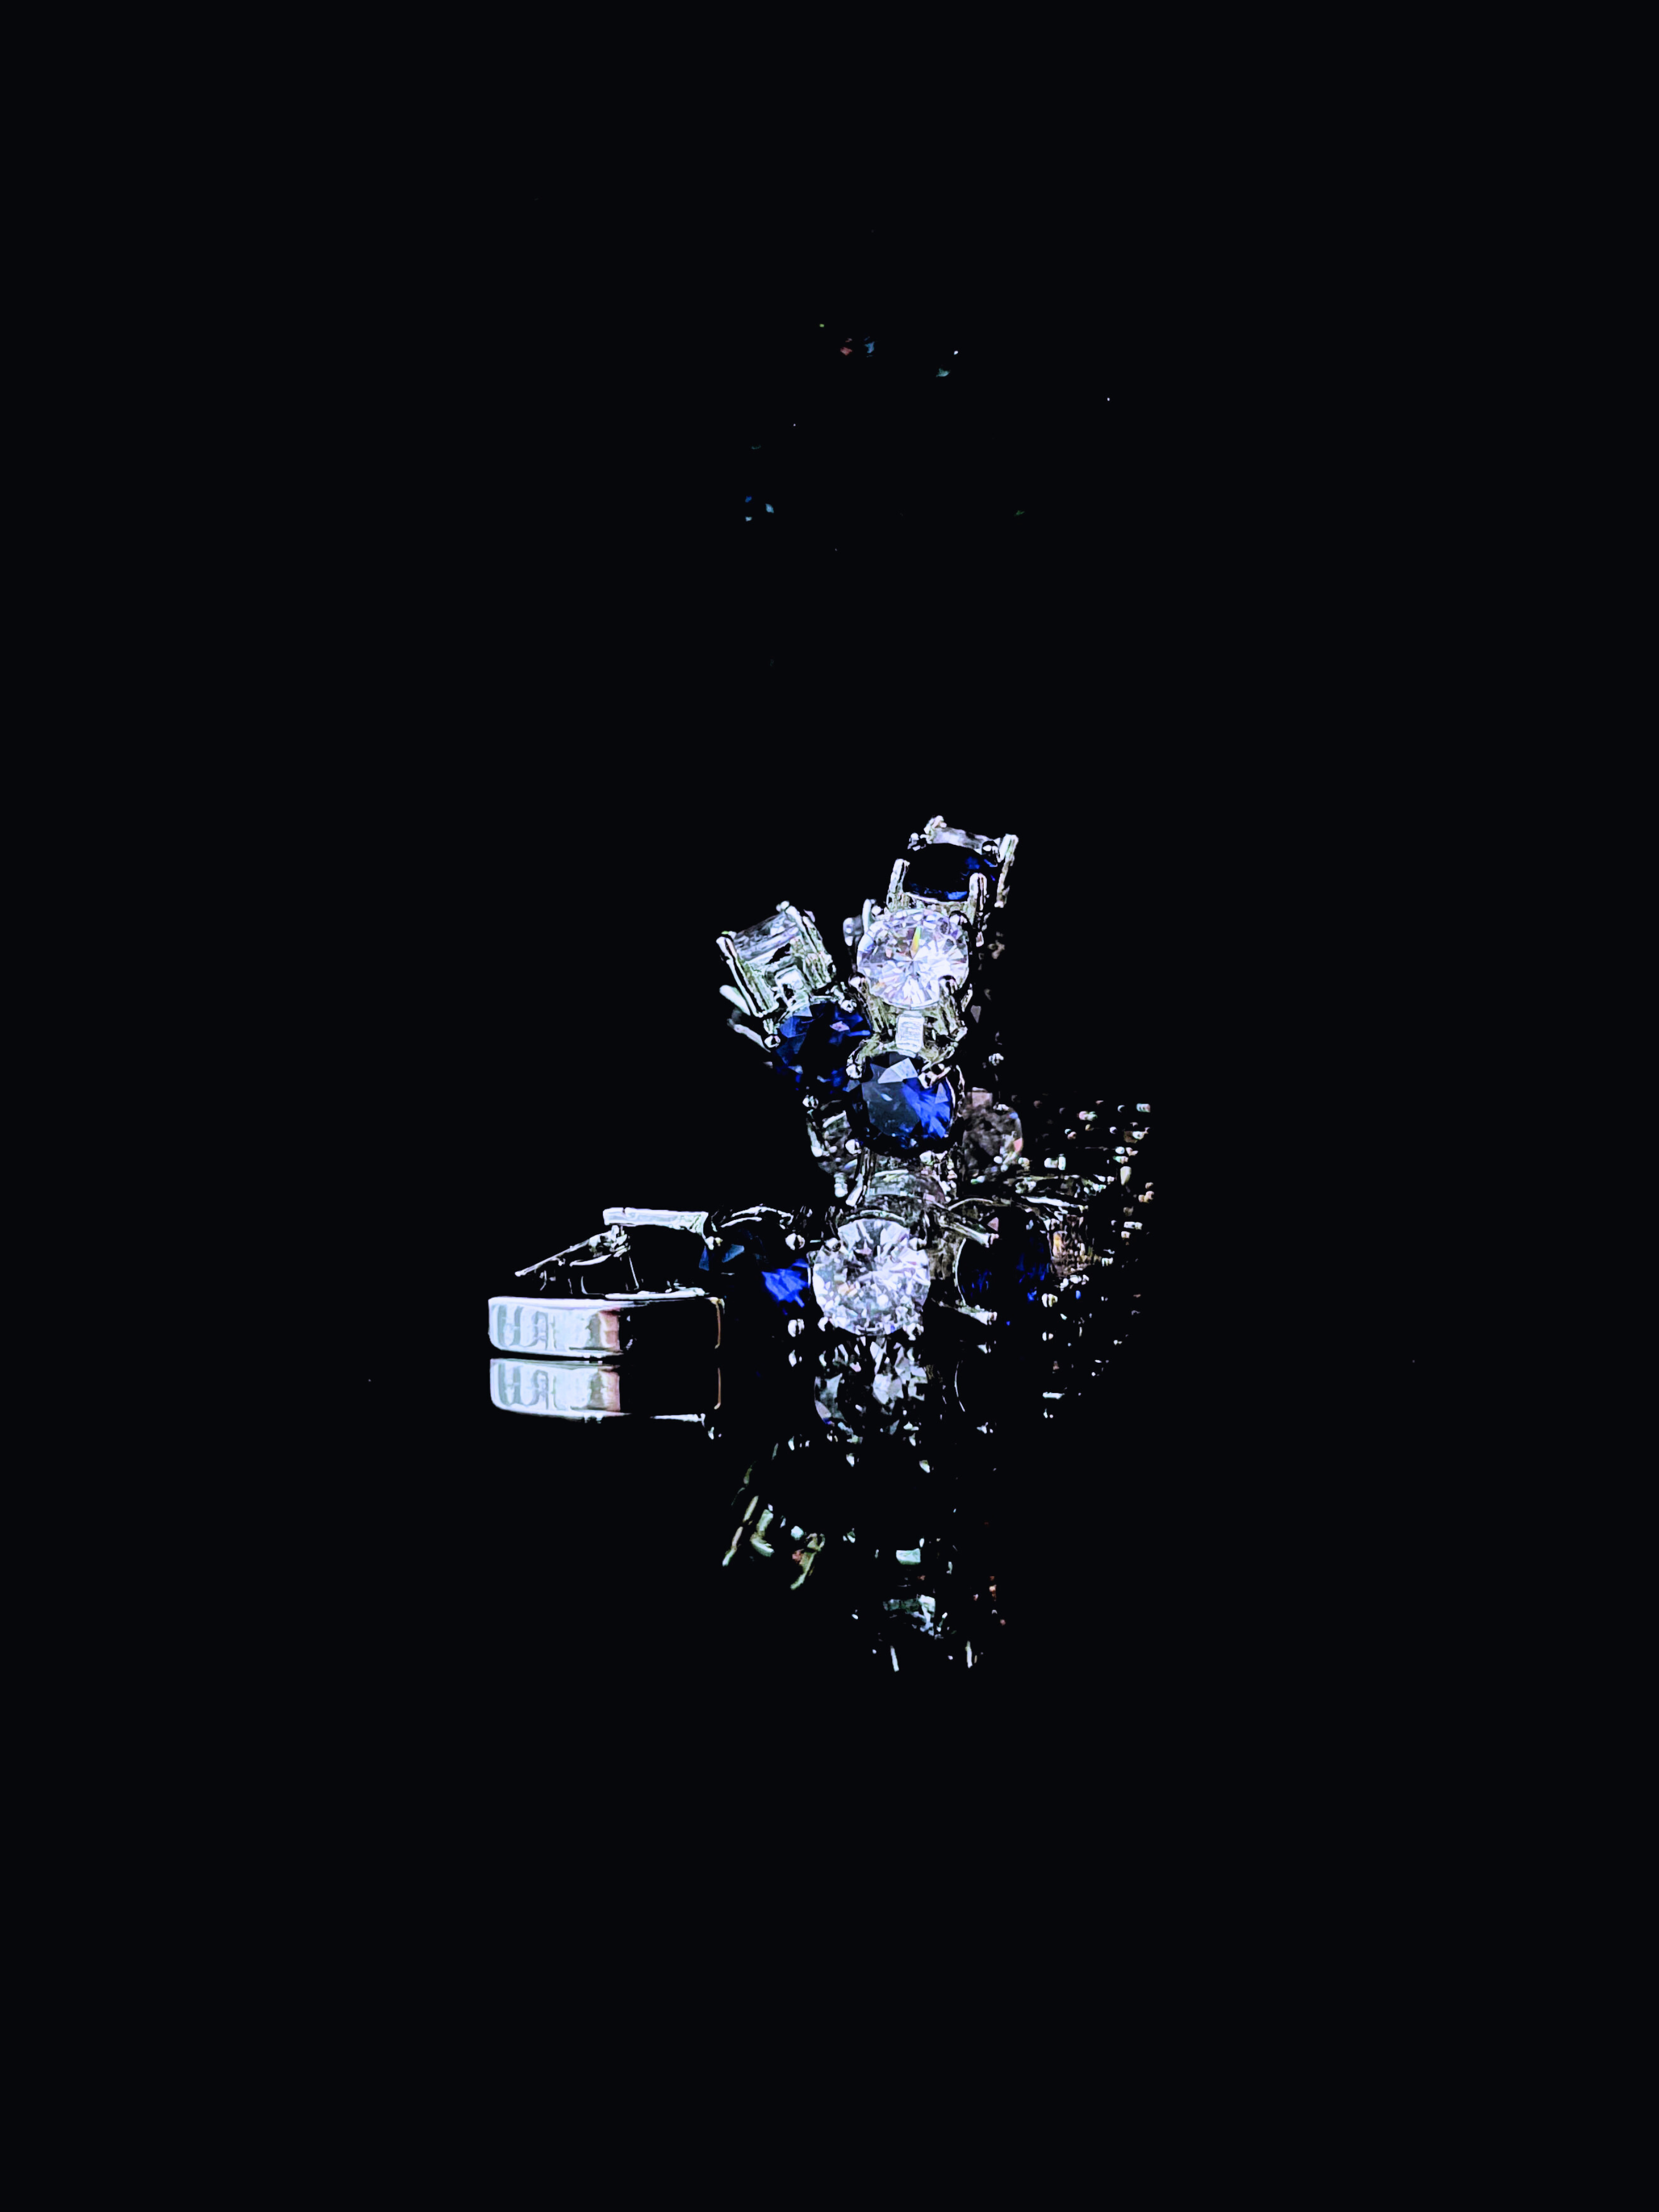
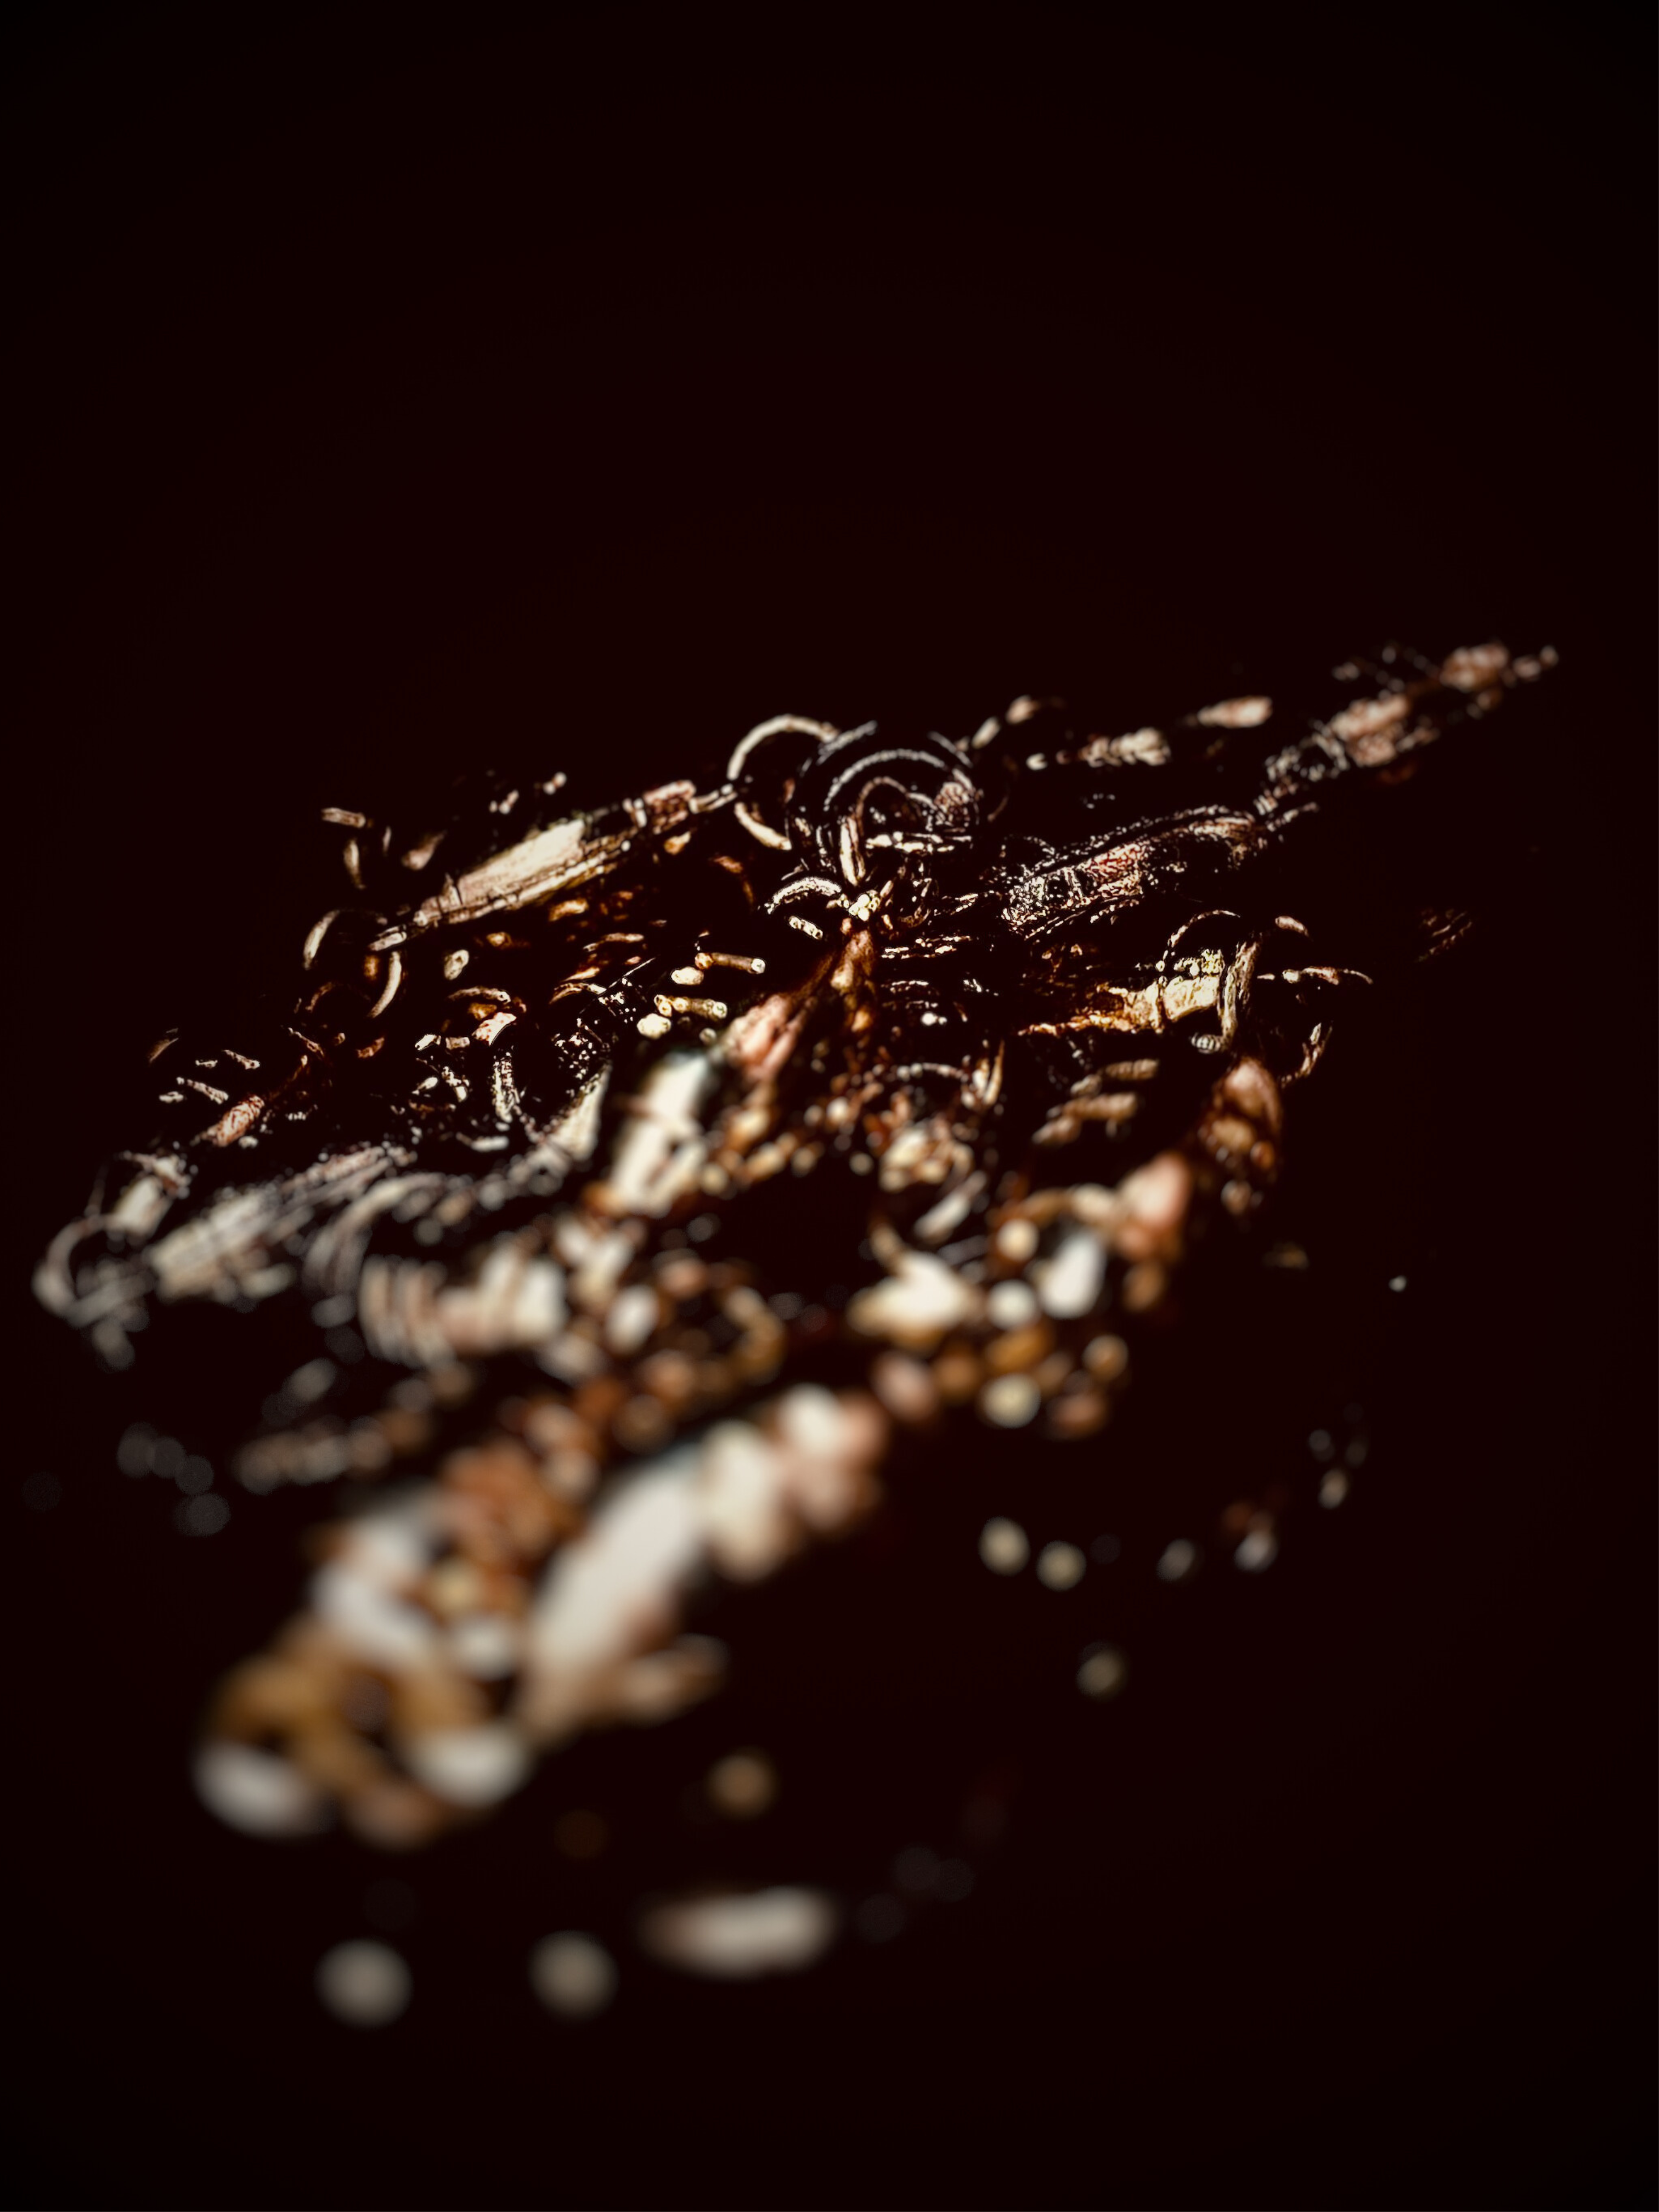
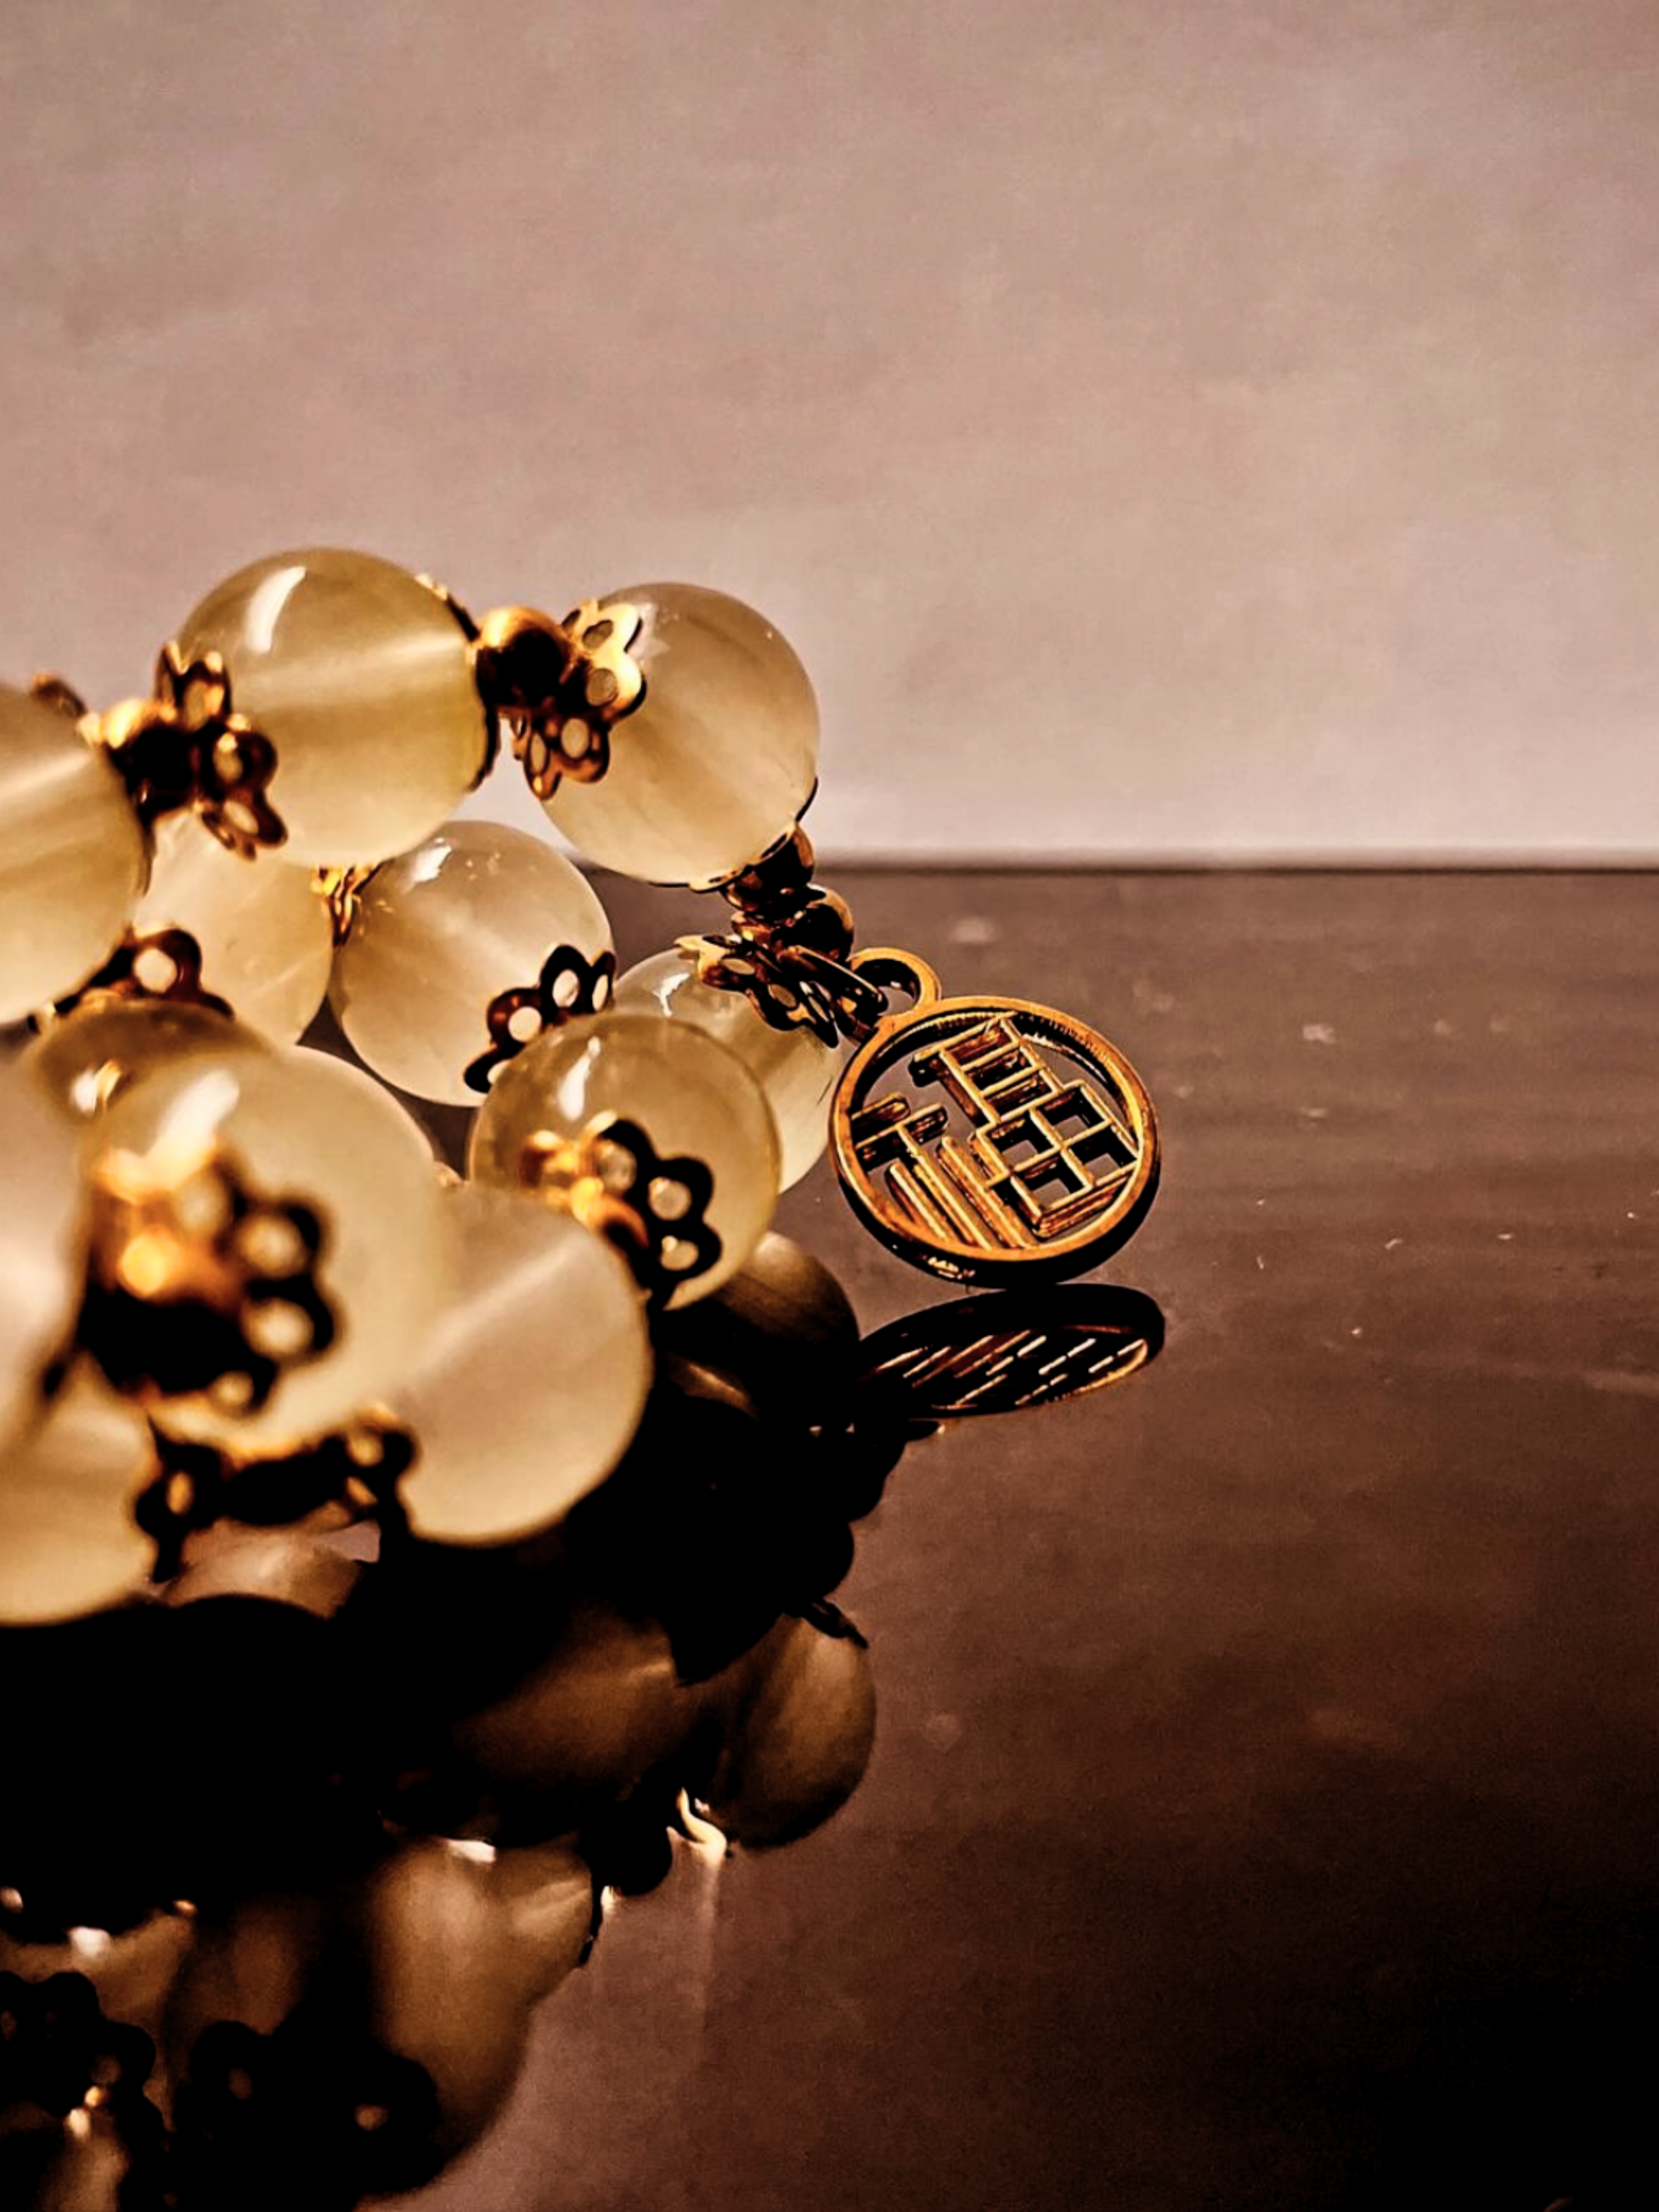
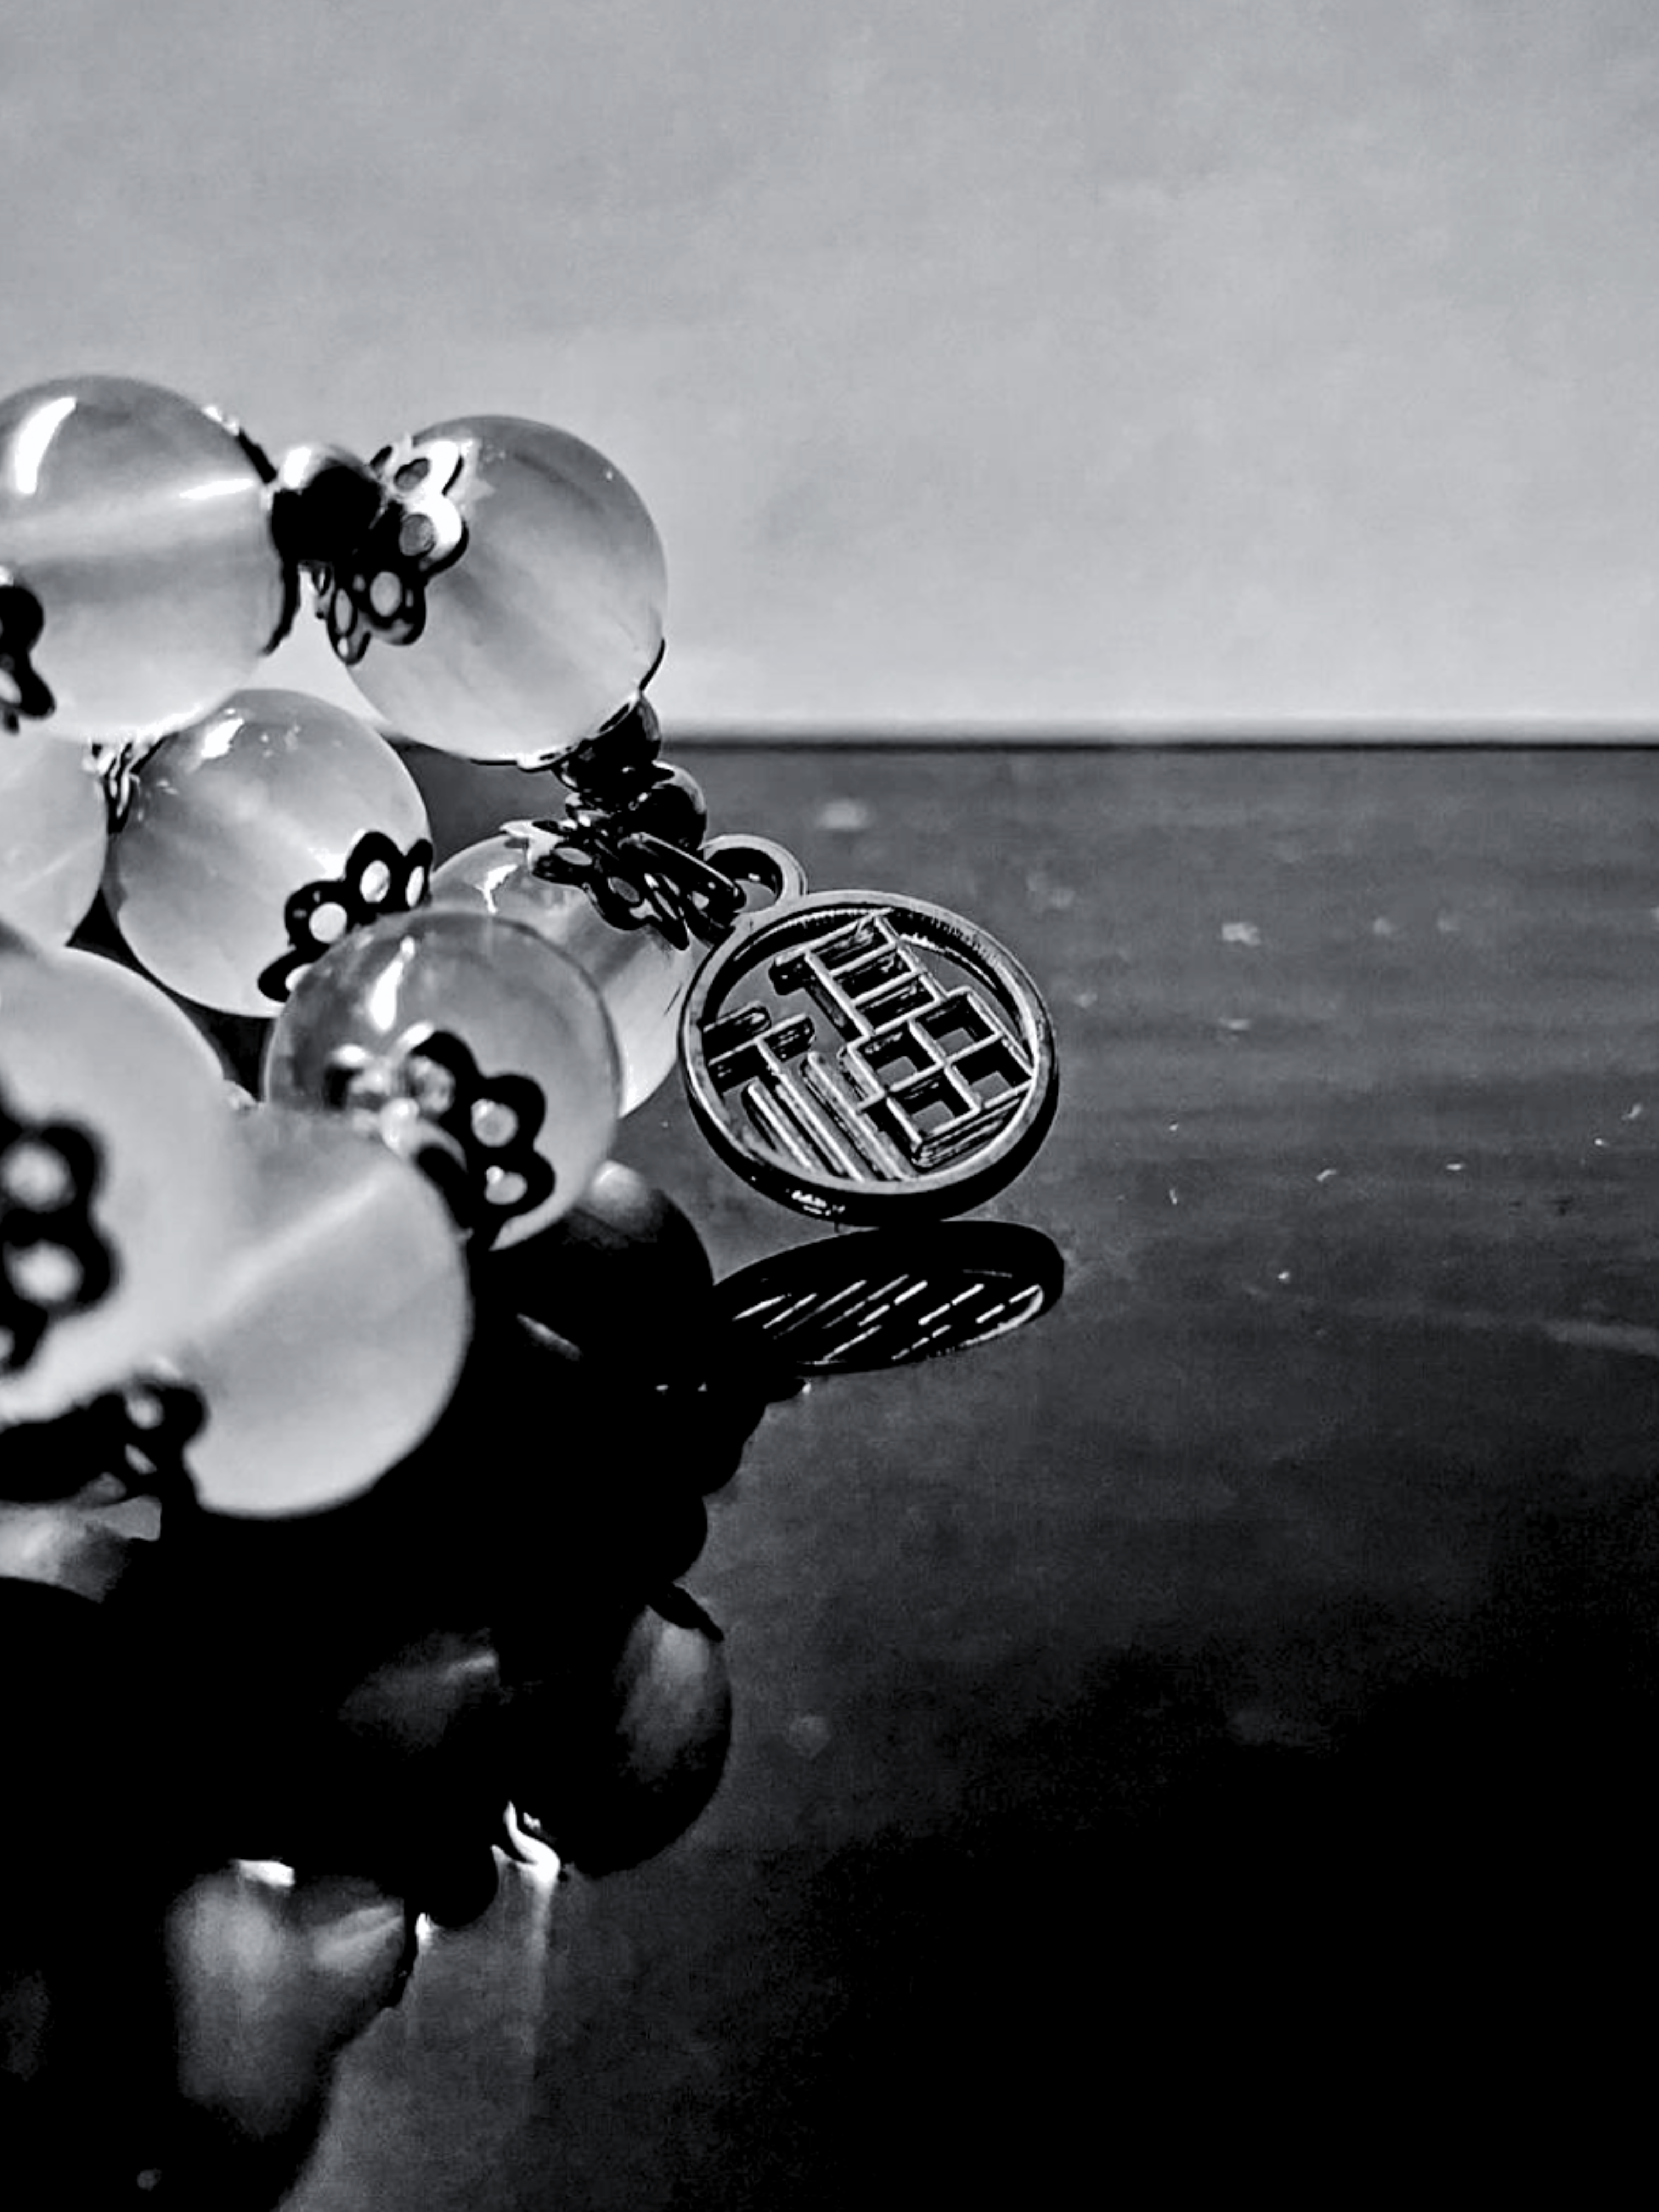
Use the phone camera's built in photo editor: generally, to achieve the "dark background look", you may decrease "brilliance", increase "black point", decrease "shadows". Turning a photo into BNW (black and white) may also change the vibe of your photo (see image comparison below).
You may also use Canva or Ibis Paint X to edit your photos, since the iPhone built-in editor has its limitations.
Remember, photos that look "professional" are most likely edited, so there's really no shame in editing your photos to make them look the way you want- (hopefully) you're not deceiving anyone in doing so.