Low Budget: Taking Better Food Photos with iPhone
This blog page was written in 2023, when I was in 15 years old. In 2025, 17 year old me has some more insight to add and change.
General Thoughts
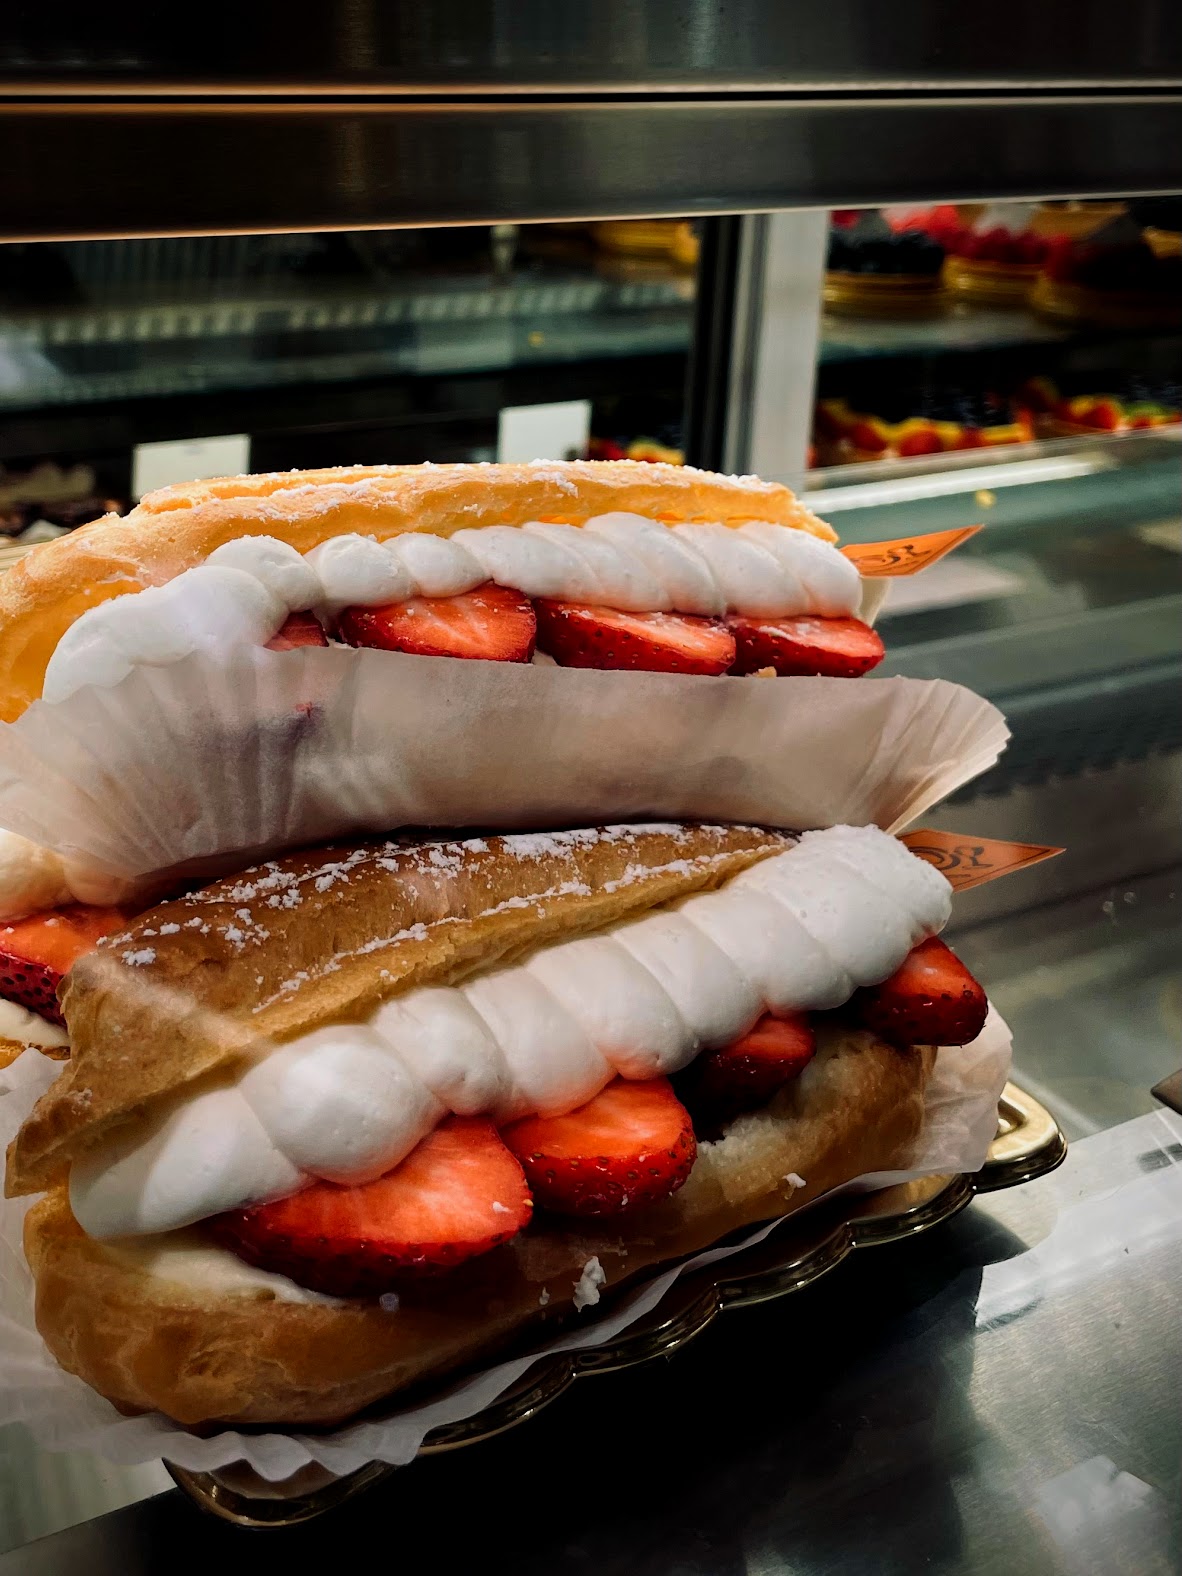
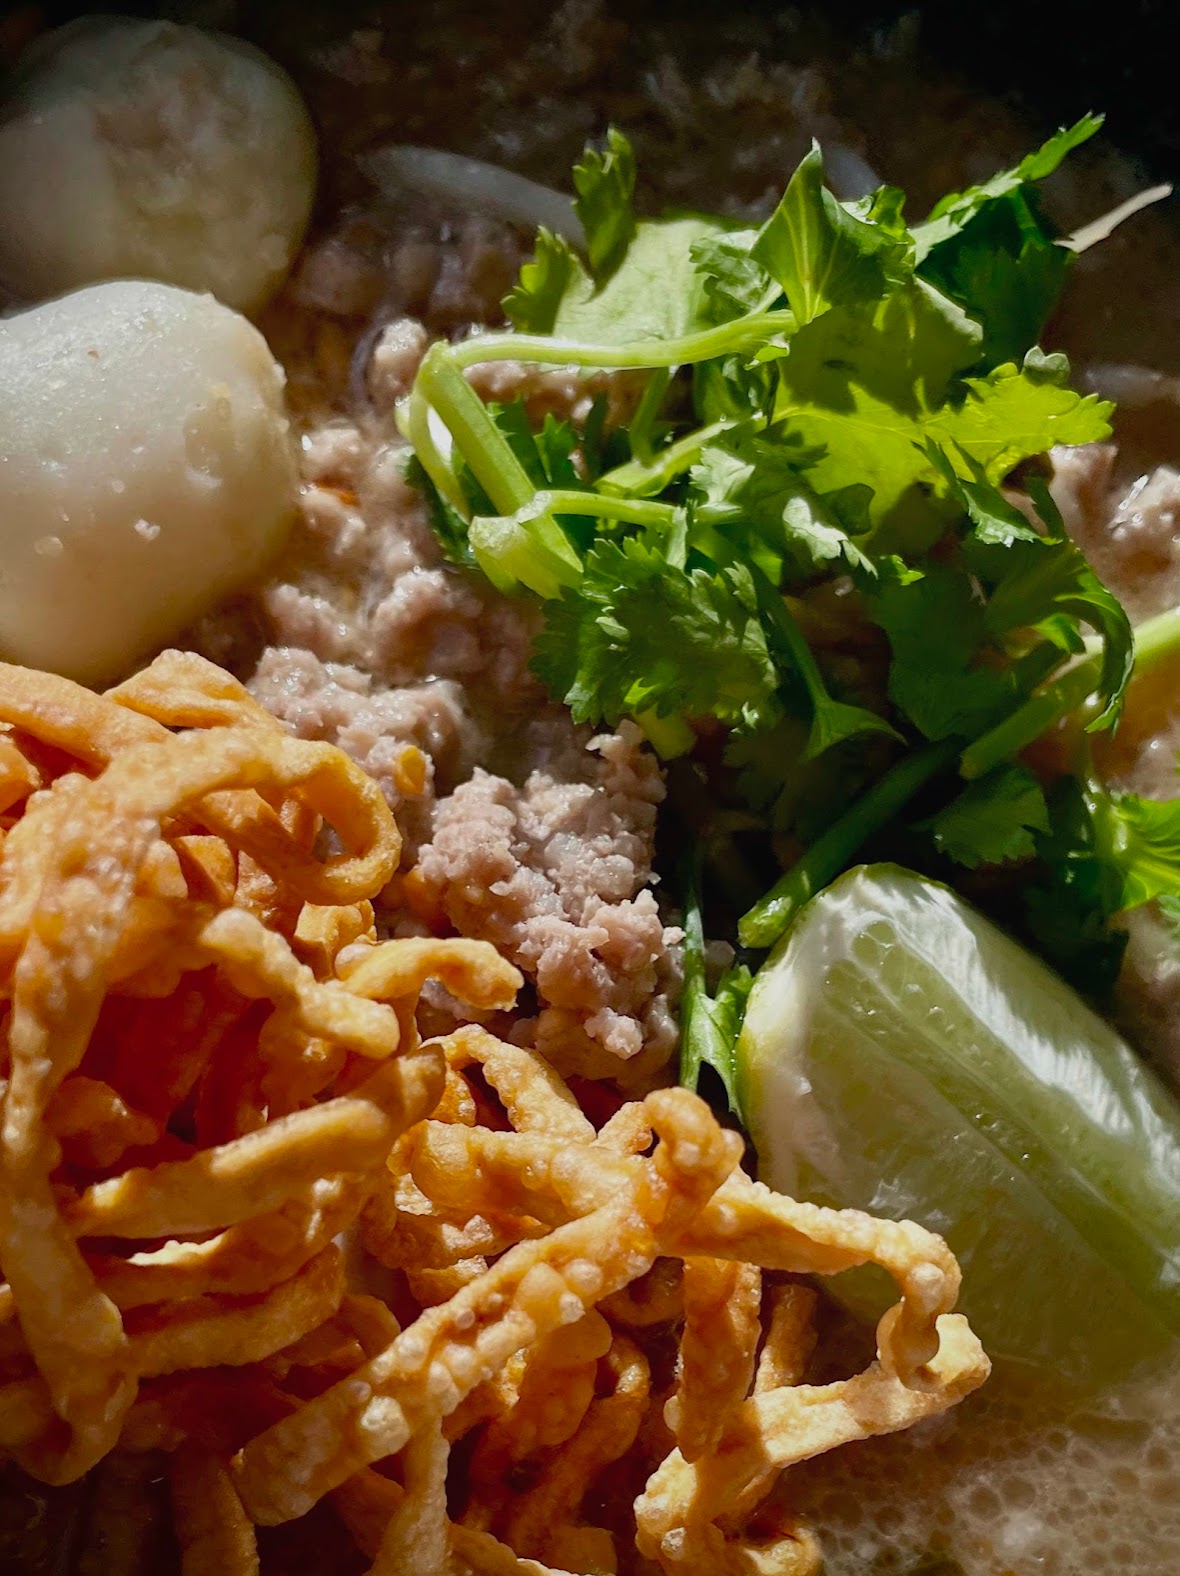
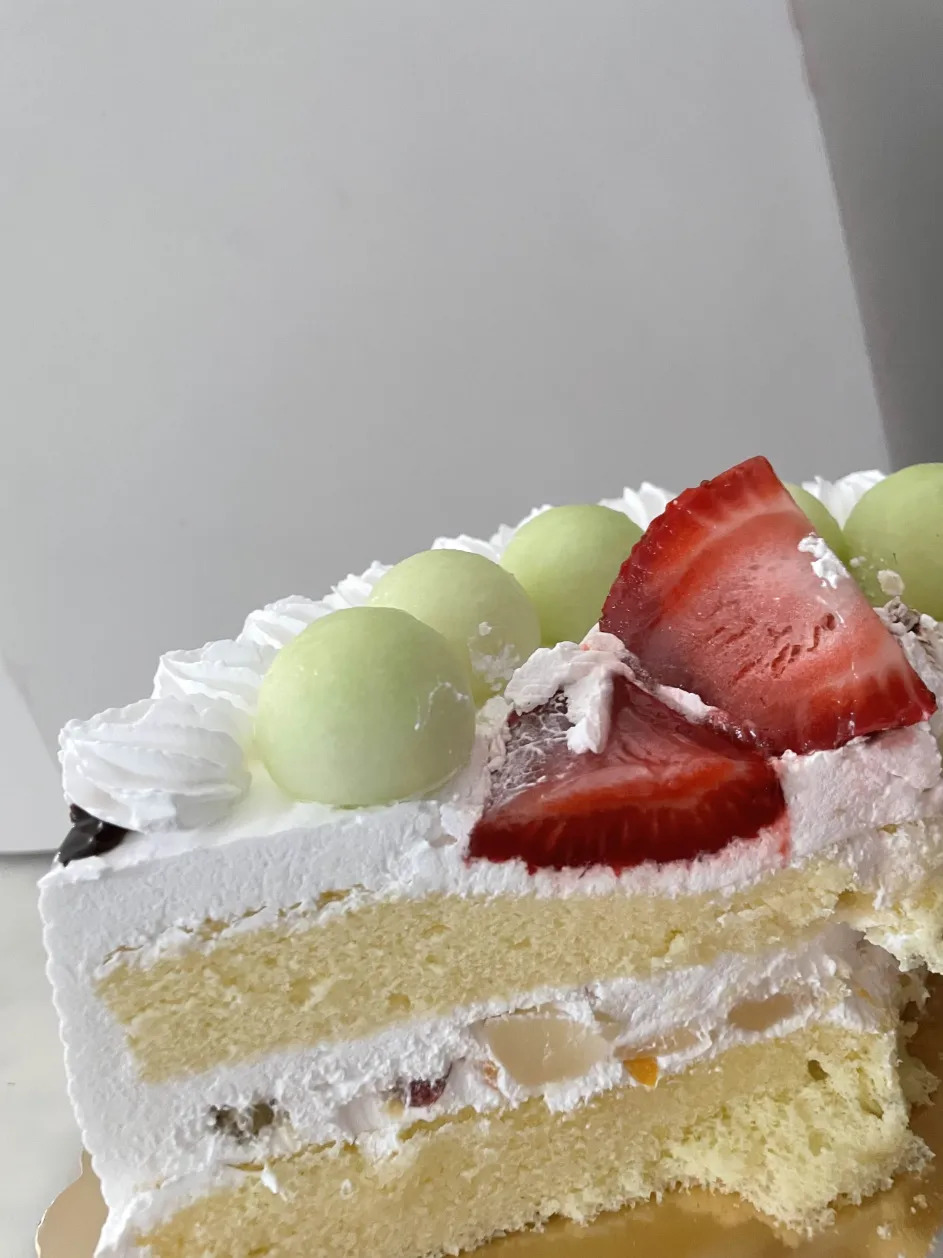
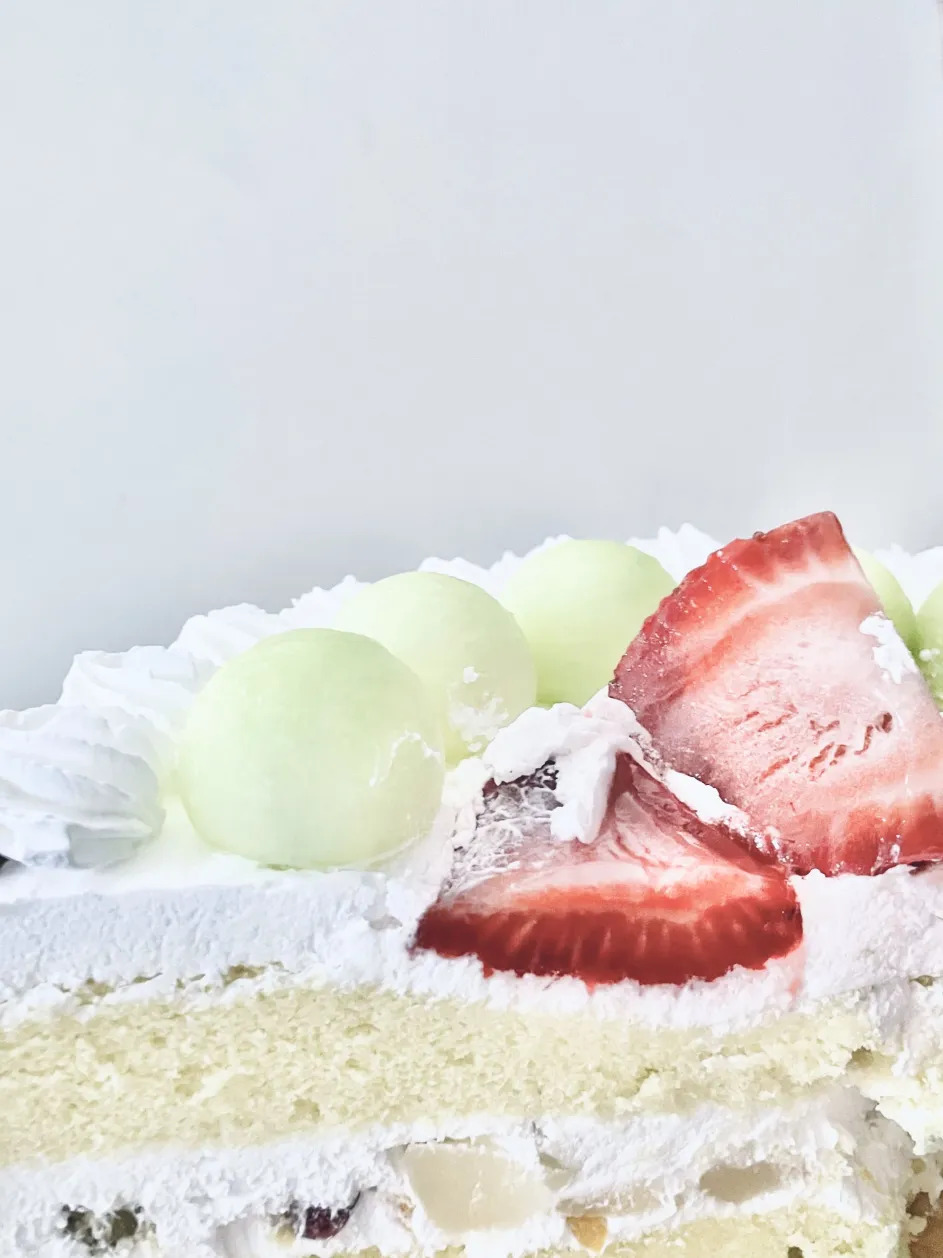
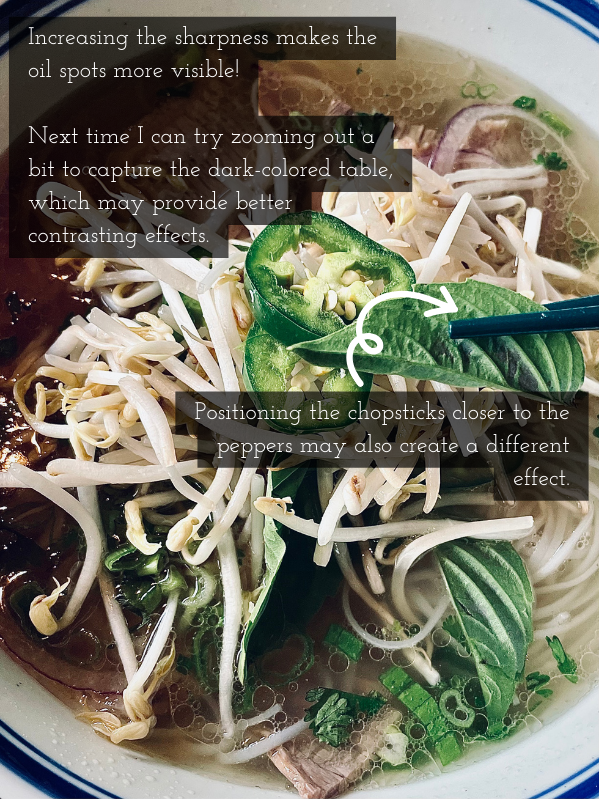
2025— For food, the first thing I'd look for is to capture color, unless you're doing black and white (BnW) food photography. Try to "preserve" the food's color, or add your "vibe" to it. Below (left) is a photo of this delicious-looking cream bread. I tried to edit this photo, so that it evokes a warm feeling. The photo below on the right is an example of how color plays a role in making your food stand out. The vibrant green of the cilantro pops beautifully against the warm, golden-brown crispiness of the fried topping.
Also, let your food subject be the star! Use simple backgrounds like tables with a neutral color, marble surfaces, or clean plates. Too many props can distract your viewer. Try adding a vignette frame (subtle darkening (or lightening) of the corners of your image), like below, if you want to draw attention to the photo center. Be careful though, as a vignette’s darkness might make the image look overly dramatic or unnatural if overused. Keep it subtle to maintain the natural appeal of the food.

Black and White Food Photography?
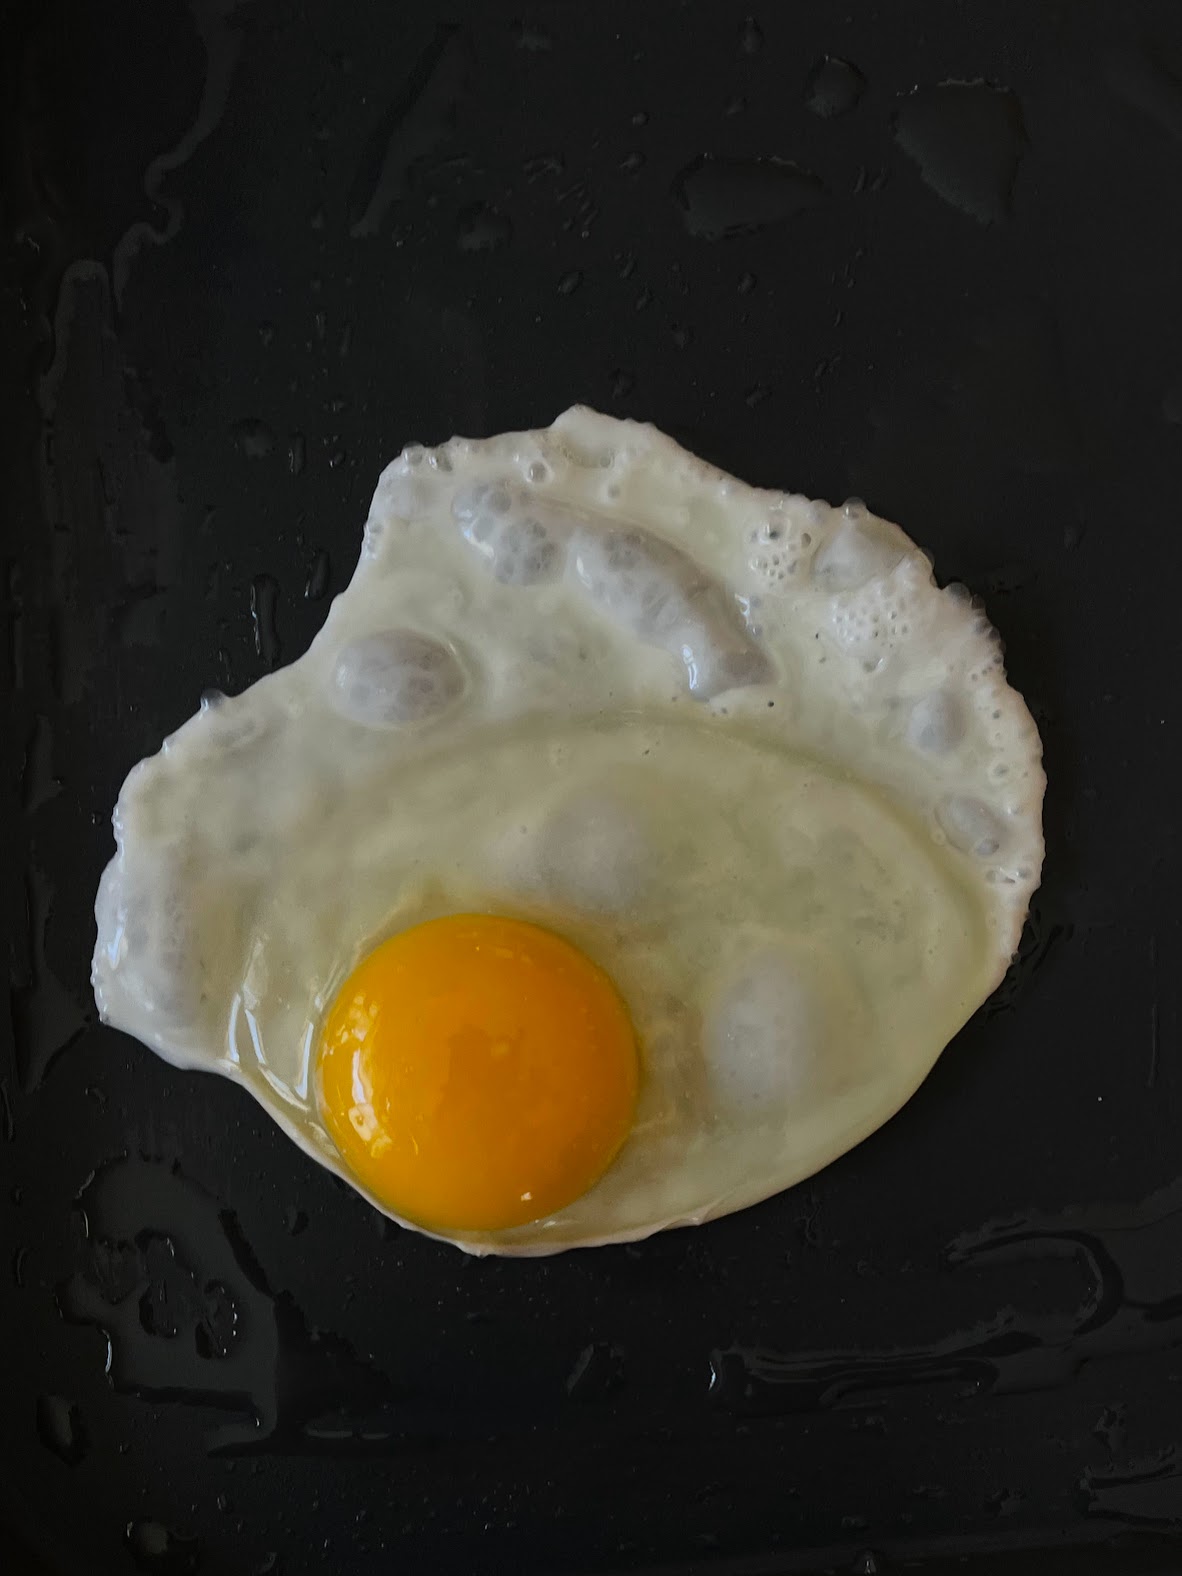
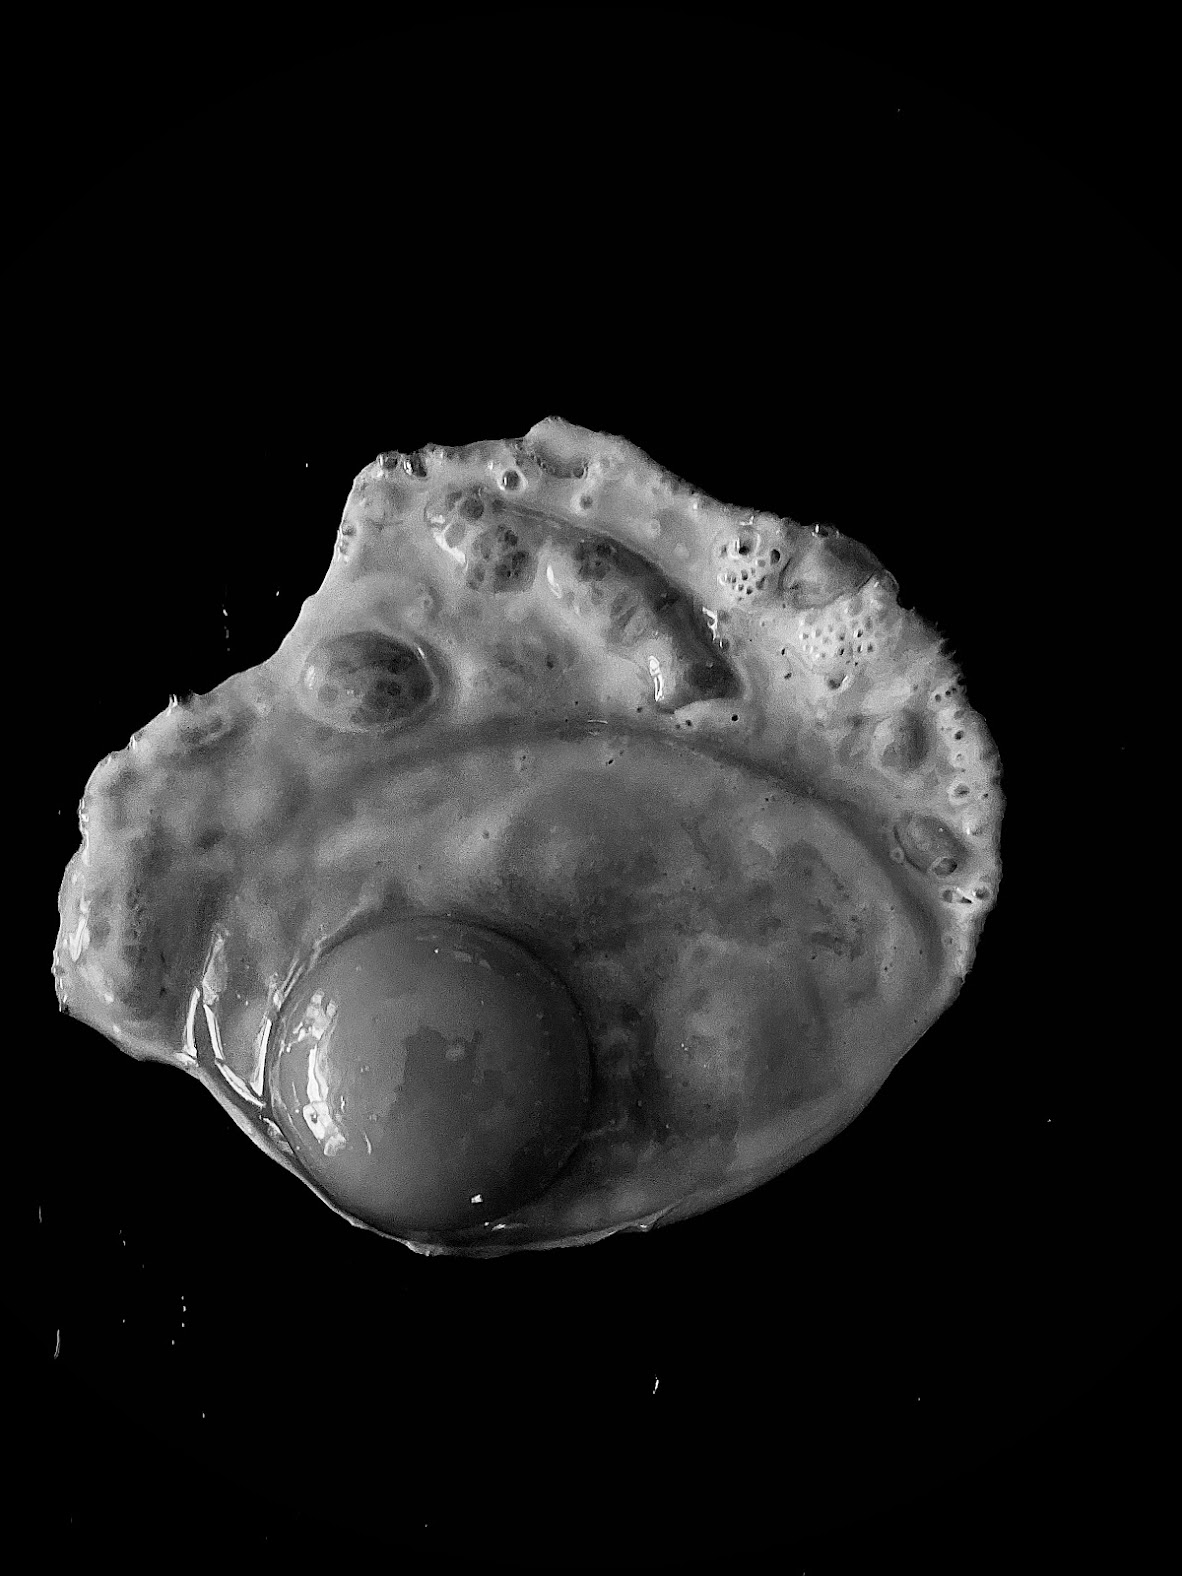
When should we make our food photos monochrome or black and white (BnW)? I think it depends on what food you're working with. For example, I find the most visual comfort when photographing food that is "naturally black or white in color", like Oreos, or "naturally simple in color", like vanilla ice cream. Below is an example of how making your photos monochrome can sometimes really bring out the artistic aspect of it! The egg photo was randomly taken in a moment where I thought the egg looked so delicious. It was only afterward that I saw its potential as a photography subject— the vivid contrast between the yolk, the white, and the reflective shimmer made it visually compelling.
Playing with Textures
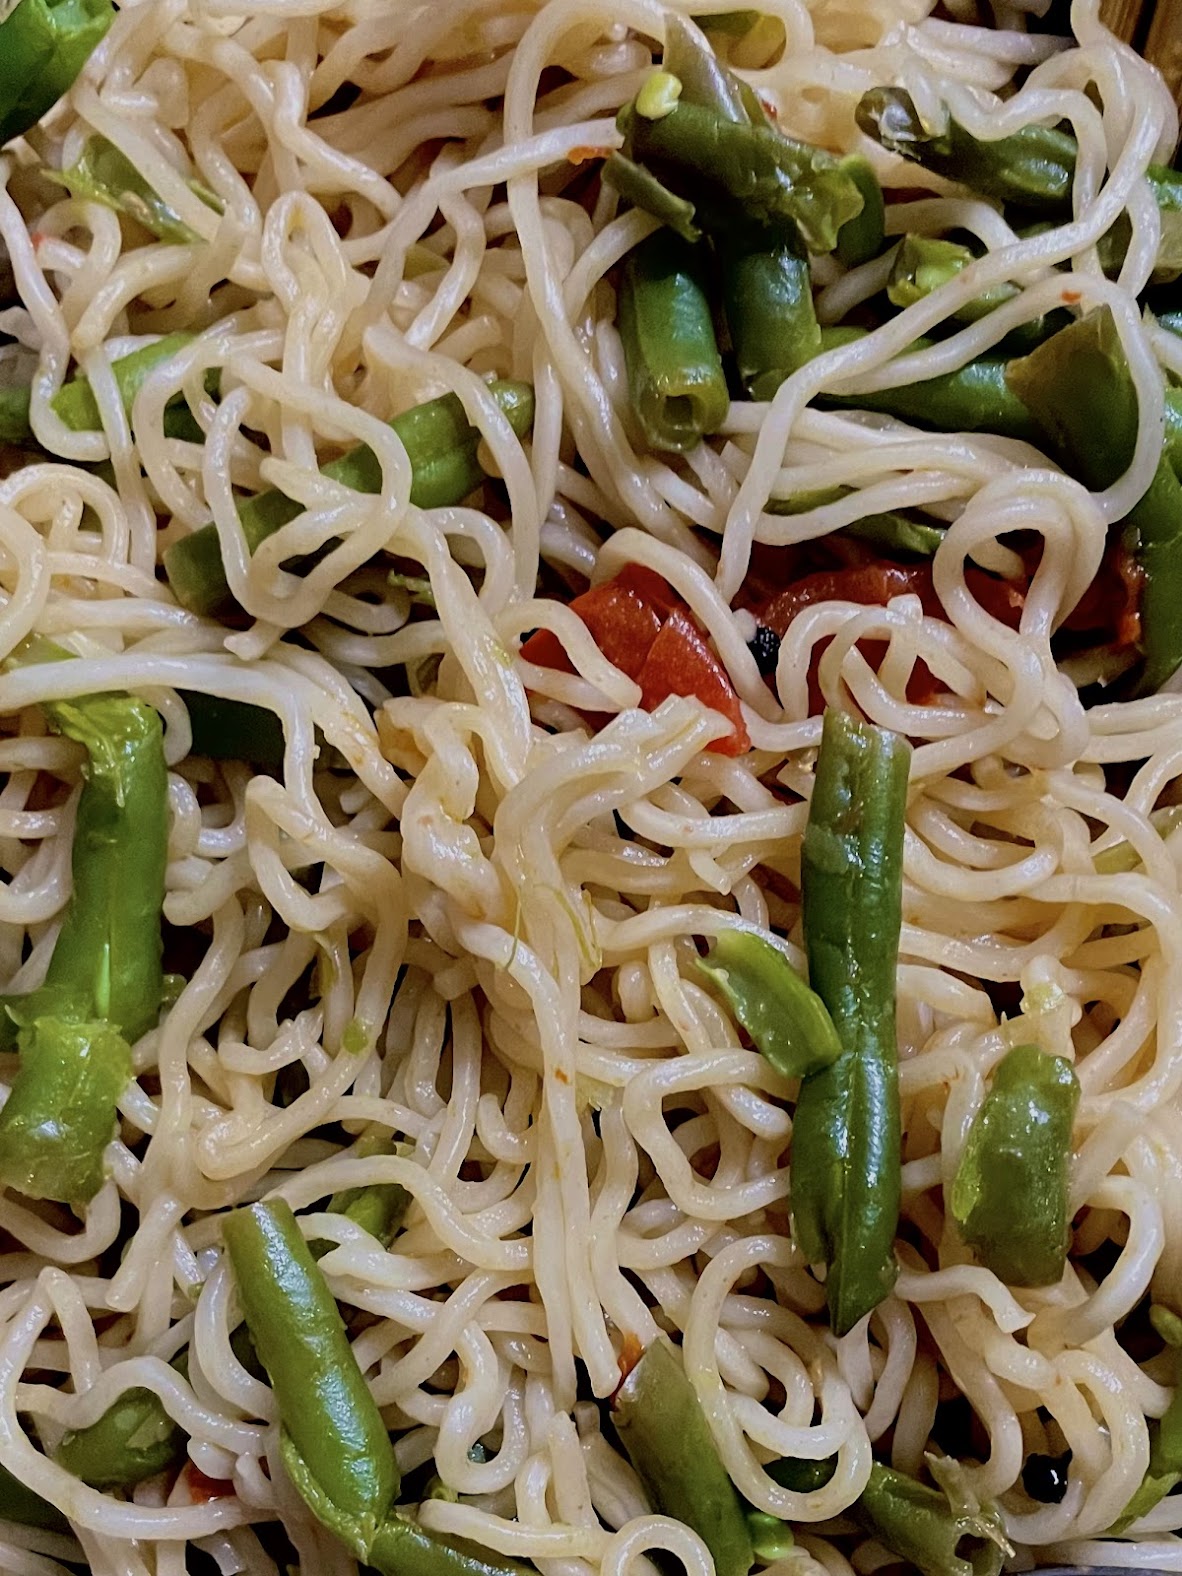
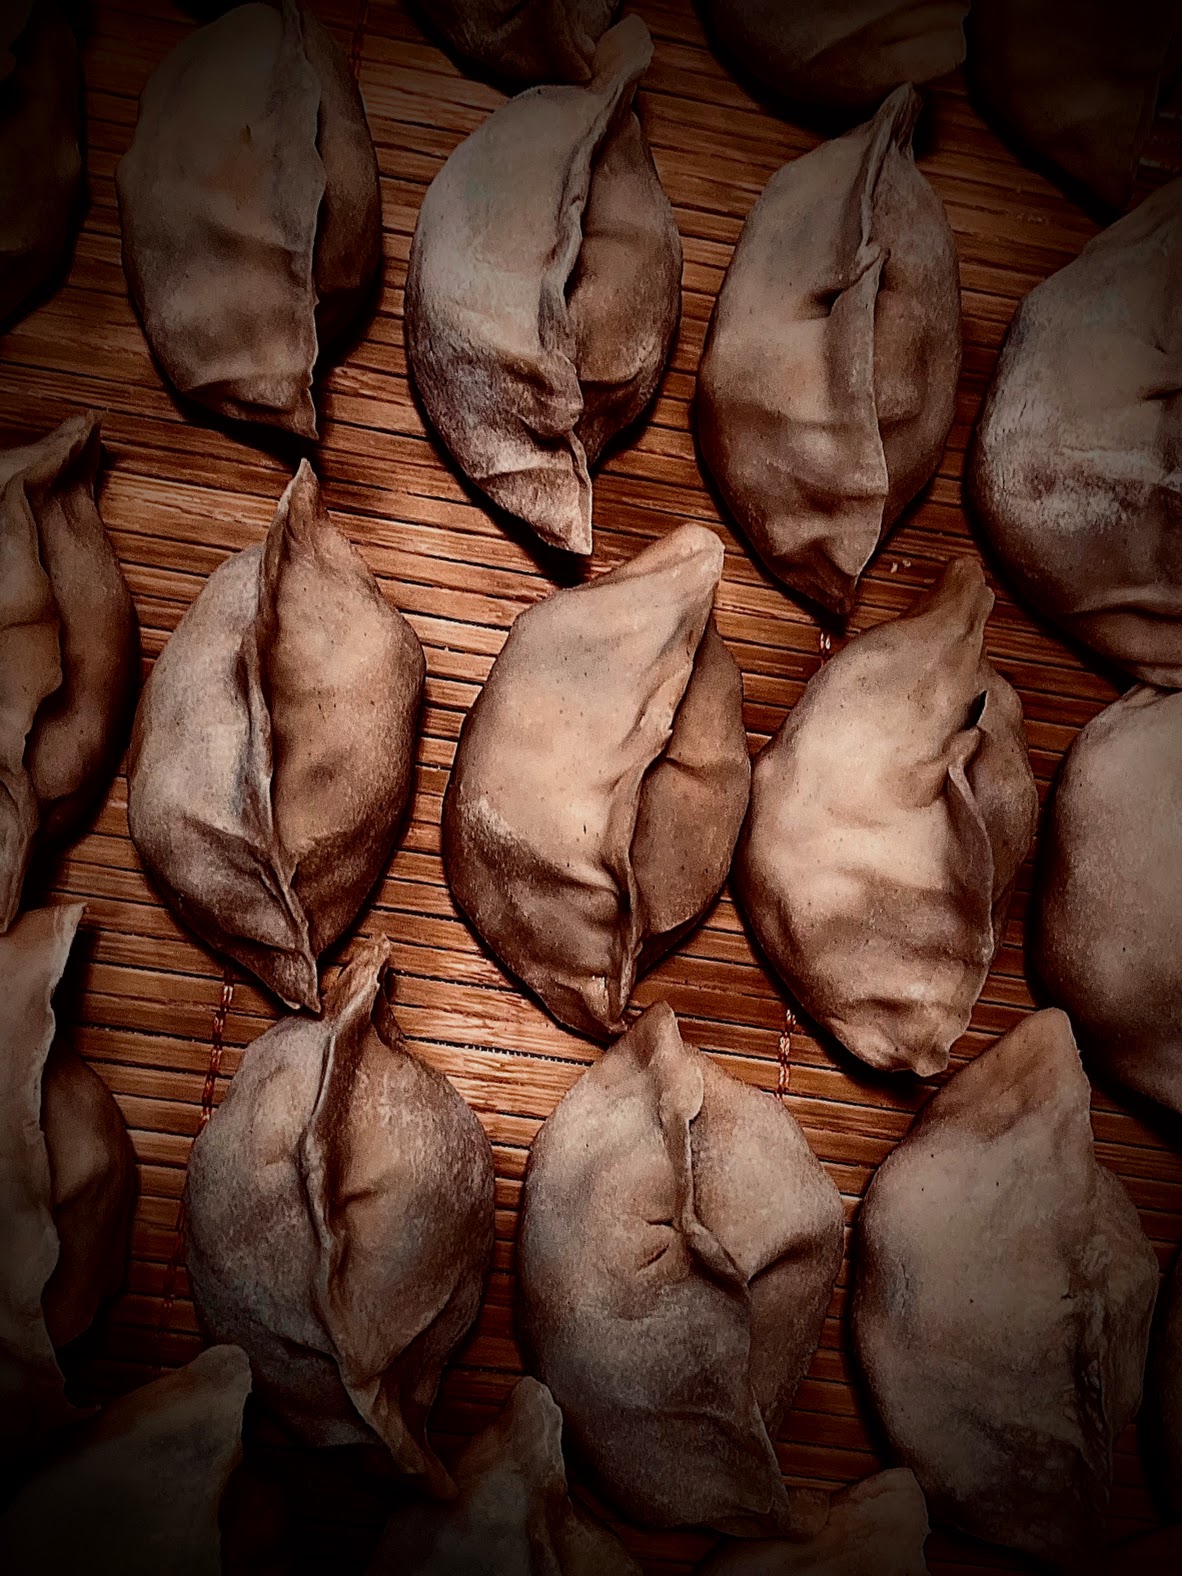
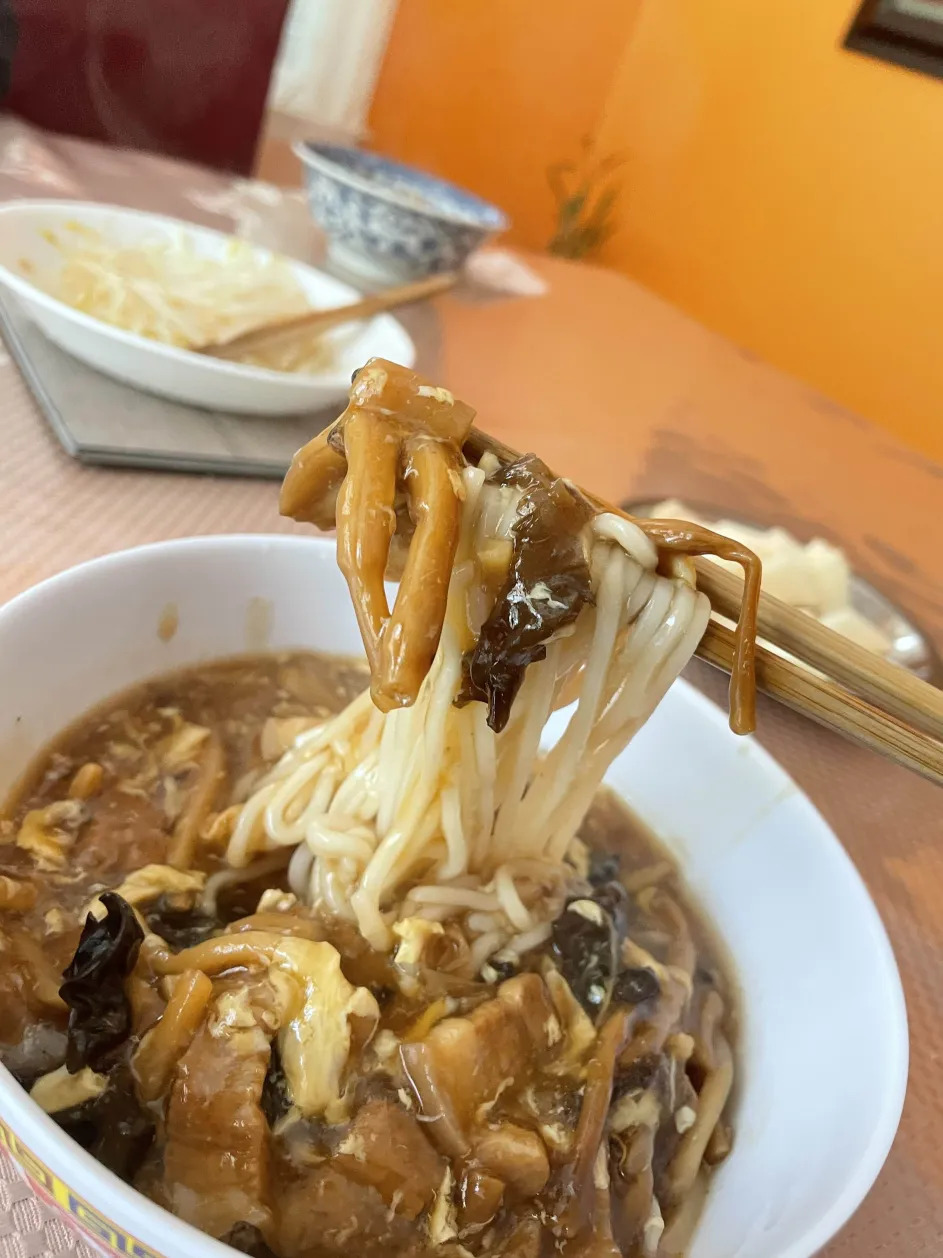
Try capturing textures of your food: I usually like to shoot with iPhone's video mode and play around with the food's positioning to capture texture. For some reason, I think the food photos come out more "raw", and less tainted with this "artificial light" my iPhone adds in regular photo mode. Below is an example of steamed noodles, captured with iPhone's video mode. Just look at that texture! This example is also one of the cases where I want the viewer to fully feel the texture of the noodles; hence, I zoomed in a lot when taking it. Similar goes with the dumplings photo, except I wanted to make the dumpling in the center as the main photo subject.
(The noodles photo lacks a clear focal point, whereas the dumplings photo intentionally draws attention to the center dumpling as the main subject.)
Take Note of Food/Utensil Position
Make sure to position the food or utensil nicely, for example, in the center of the camera or by the side, in one of the horizontal or vertical 1/3ths of the frame.


Edit your food photos!
"Useless" advice: edit your photos. Crop them. Play around with the contrast. Don't worry if your photo appears blurry by zooming in or cropping too much when editing— this just tells you what to be aware of next time you're taking the food photos. Also, don't forget to experiment with different food photo styles. Not all food photos have to be "filled with emotion"! Some can be light-hearted, soft pastel-colored, or even Summer-y! Below are some examples.

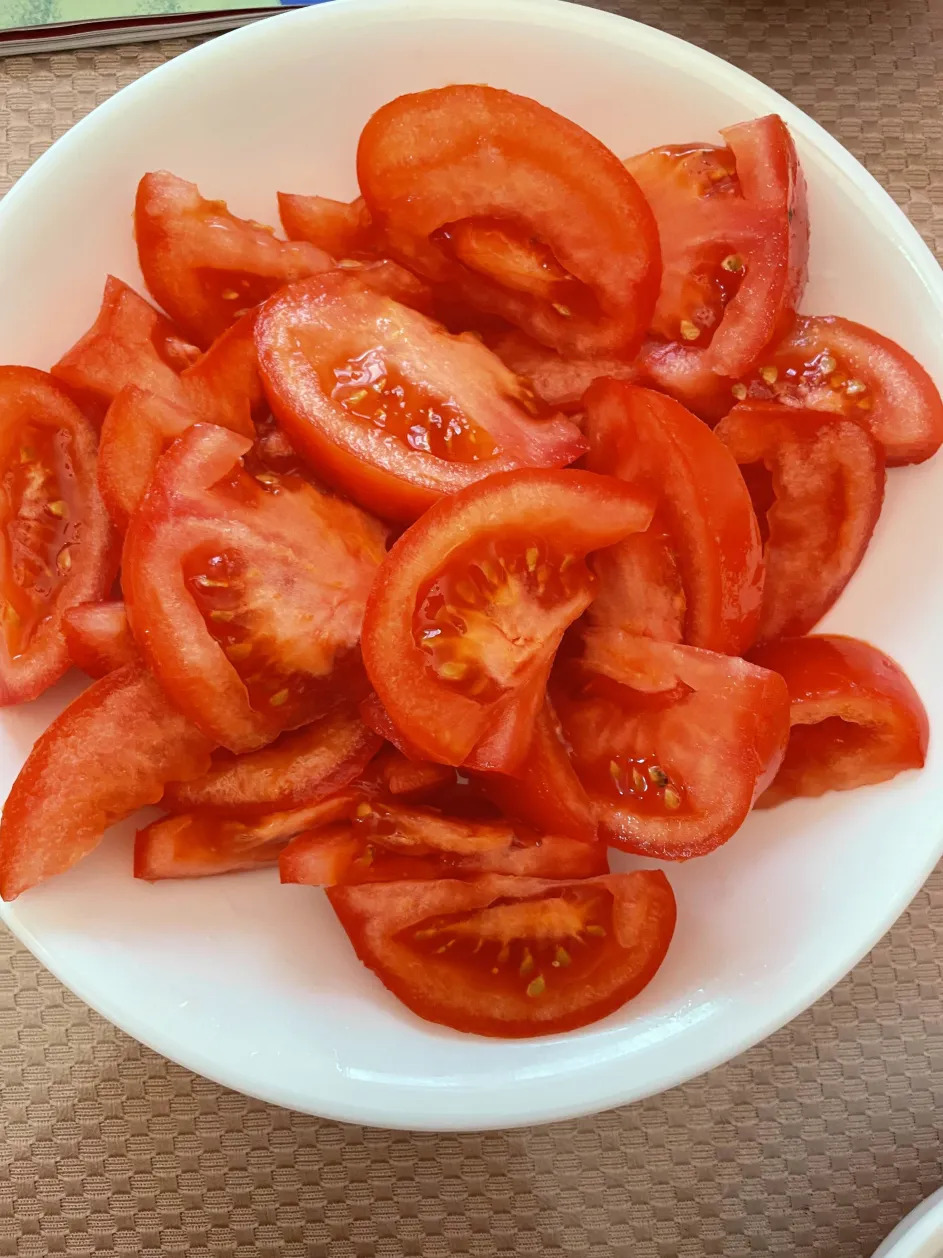
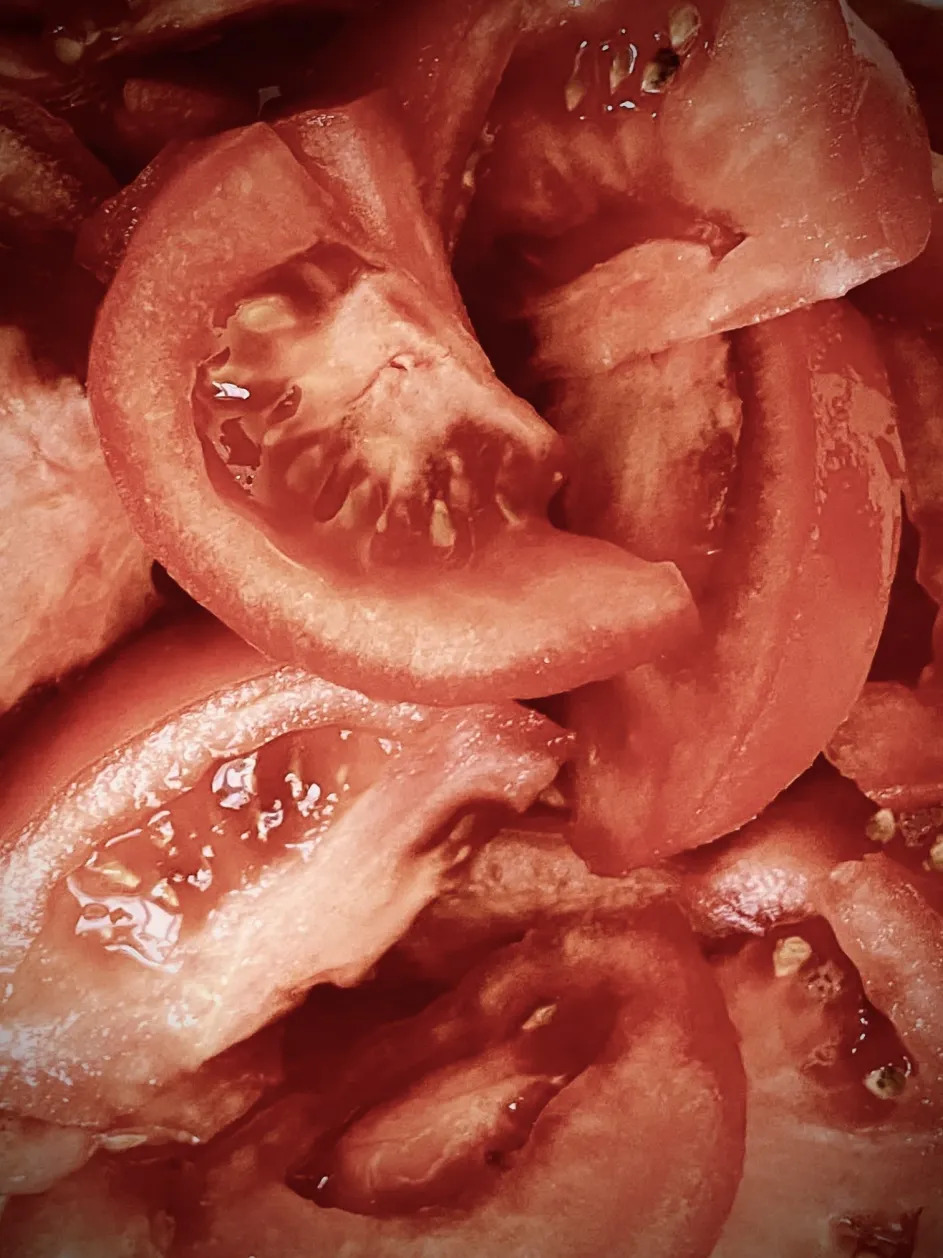
As see in above's tomato photo set, feel free to flip/rotate the image as much as you want. Sometimes, choosing a food subject and placing it at one of the rule of thirds’ intersection points is the key to making a photo look visually compelling and professional.
This was my take on food photography in 2023:
2023— We're individuals without formal photography experience, yet we still desire high-quality photos from our very own self (hence "low budget")! Luckily, capturing fast, relaxed, yet professional-grade food photos using your iPhone becomes simple when you seize the perfect moments. Here's some thoughts on how you can take/create better food photos quickly with an iPhone!
Identifying the Lacks or Abundances
Observe why your food photos look uninteresting. Take mental notes of the mood the lighting created, the differences between the actual photo and your desired photo effect, etc. Take these photos for an example- not very bad, but not great either:
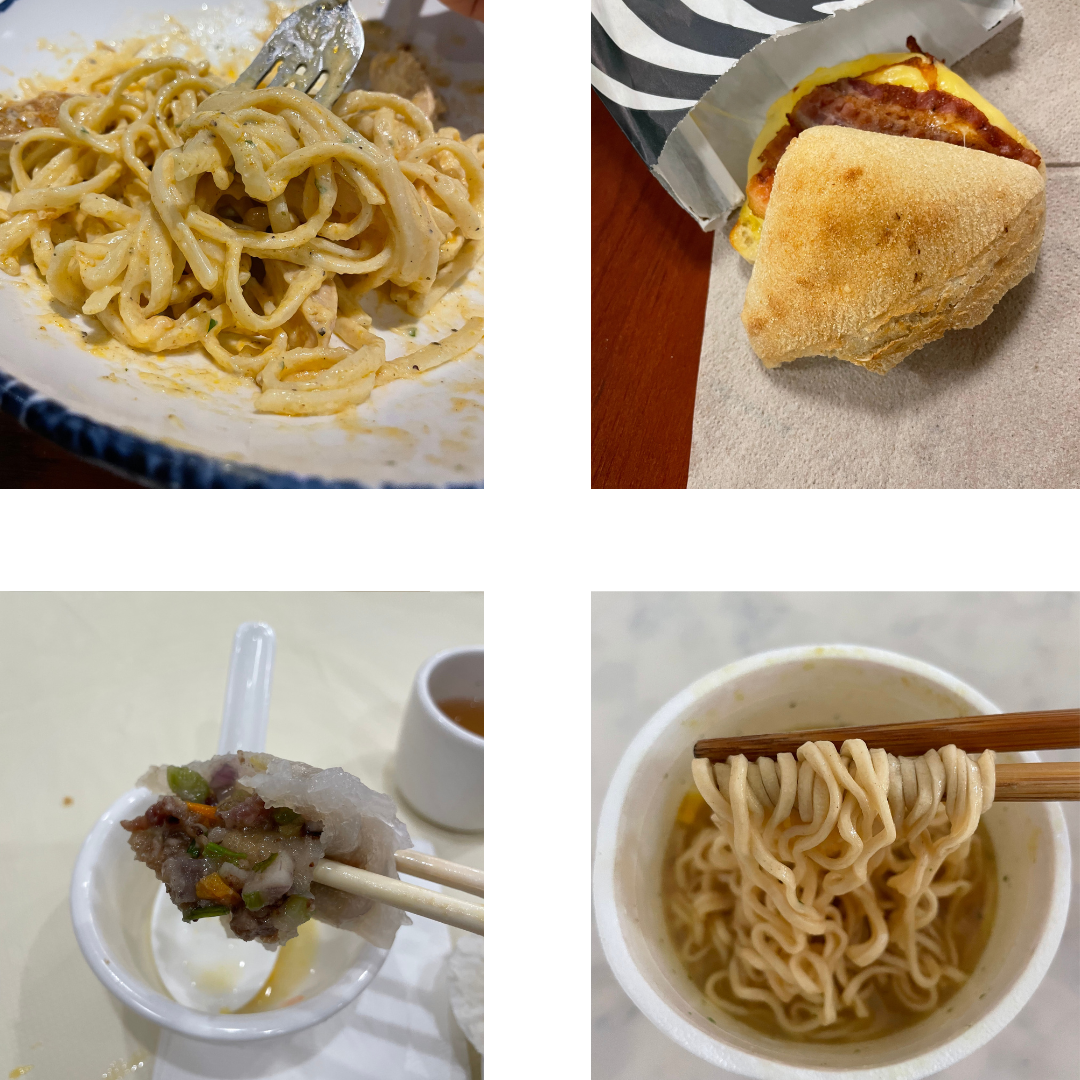
These "not bad but not great" photos have a common characteristic- These photos might lack subject, are taken in an angle that doesn't highlight the focus, has weirdly-contrasting color combinations, etc. For example, the pasta alfredo (top left image) really does not look appetizing, due to the photo taken when the dish was half finished, and perhaps the lighting. The breakfast sandwich from Starbucks look like a photo of what Starbucks doesn't want you to think their sandwich looks like. The beef dim sum from Asian Jewels in Flushing was so rich in flavor, but looks ... in the photo. Finally, the cup-o-noodle ramen is a realistic photo of the product, but just isn't ... presentable.
Finding the Right Moment
As someone who doesn't specialize in photography, it's not efficient to spend lots of time on photo-taking/editing, especially when we have lots of other things in our schedules. Therefore, try to take several good shots of food before you actually start devouring it. Once you start the meal, don't bother about taking photos- just eat.
What Do You Want to Feel From Your Photo?
Since you are willing to take a certain food photo that looks "better", photograph them with a purpose! Capture your mood, an aesthetic, a "raw feeling", or the environment's mood. It's harder to capture mood in food than say, the weather, on the streets, or interior photography. However, some food mood ideas are:
An old and "classic" mood
A bright, healthy vibe
A delightful Summer
Autumn coziness
For example, in the photo below, I tried capturing an "old" vibe that I found very fitting with a newspaper that came with Red Lobster's chicken tacos.

Analyzing, Preparing, Angle and Taking the Photo
Make sure your food stands out from the table color/background. From here, you may go various paths with the actual photo-taking! Divide the screen/camera into a virtual gruid, and decide where you want to center your focus. A centered focus may work well for food that's presented with a generally symmetric manner (e.g. mooncakes, a round pizza, a cake, etc). Or, you may position the food/phone so that your focus follows the Rule of Thirds (place subject in right/left third of frame). This drives more emphasis towards your focus, and may create a different type of an aesthetically pleasing food image.
For example, the red tablecloth shown below doesn't make the food stand out, and doesn't pose as a good color combo/contrast with it. In the fish photo (bottom left), the fish itself is already red-braised, so a red tablecloth as background just makes the image too monotone in color. No matter how I try changing the saturation, exposure, contrast, and vibrance, it doesn't change the fact that the image looks uninspiring (unless I make it greyscale). A black table as background would make the prominence of the photo subject (the fish) look less weak.
Many times, you just need to experiment- as time goes on, you'll know what setting is the most optimal for a great photo. Another example: you might take better photos in a restaurant, since the restaurant likely provide a more commercially attractive and professional eating environment, unlike our kitchens.

(On white/black tablecloth, the same foods would give off a different aura.)
Finishing Touches
Edit your photo with the built-in editor your iPhone provides you! Use "tint" and "vibrance" to remove unwanted lightings on your food. Generally speaking, the "dramatic warm" filter is a great option for a "dramatic cozy" effect.
Takeaway and Conclusion
If you're clueless on taking a better photo, just have this reminder in mind- decide whether this particular photo of this food you're taking is going to be for you to send to your friends/family, or is it going to be a photo where you experiment your photography skills. Just keep observing your desired qualities portrayed in your photo, and keep practicing! Food is comparably more challenging to photograph than other objects, but having a keen eye towards the small details around you, you can always find a way to tell your story through photographing food!